How to Install a Steering Wheel Control Interface Easily
Installing a steering wheel control interface can transform your driving experience, letting you keep your hands on the wheel while adjusting your car’s audio or navigation system. Many car owners upgrade their stereos for better sound or features, but often lose the convenient steering wheel buttons in the process.
A steering wheel control interface restores these functions, connecting your new head unit to the existing wheel controls. If you want modern features without sacrificing safety and comfort, knowing how to install a steering wheel control interface is a smart skill.
This guide walks you through everything you need to know—from choosing the right interface to troubleshooting common issues—so you can complete the job with confidence and enjoy seamless control.
Understanding Steering Wheel Control Interfaces
A steering wheel control interface is an adapter that lets your car’s factory steering wheel buttons work with an aftermarket stereo. Most modern vehicles have buttons for volume, track change, and even phone calls built into the steering wheel. When you replace the factory radio, these controls usually stop working because they use a different system. The interface solves this by translating the signals from your car’s steering wheel into something the new stereo can understand.
There are two main types:
- Analog interfaces: These read resistance values from the steering wheel buttons. Common in older vehicles.
- Data interfaces: These communicate with your car’s computer through digital data lines (CAN bus, LAN, etc.). Newer cars often use these.
Not every interface fits every car or stereo. It’s important to match the interface to both your vehicle model and the brand of your new head unit.
Tools And Materials You Will Need
Before starting, gather all the tools and materials. Having everything ready saves time and reduces mistakes.
Essential tools:
- Phillips and flathead screwdrivers
- Wire strippers and cutters
- Electrical tape or heat shrink tubing
- Crimp connectors or soldering kit
- Panel removal tool (plastic preferred to avoid damage)
- Multimeter (for verifying connections)
- Zip ties (for clean cable management)
- Flashlight or work light
Materials:
- The correct steering wheel control interface for your vehicle and stereo
- Wiring harness adapter (often needed for aftermarket stereos)
- Vehicle’s stereo wiring diagram (can be found online or in service manuals)
- User manuals for both the interface and the new stereo
Pro tip: Photograph all connectors and wiring before disconnecting anything. This helps if you need to restore the factory setup.

Credit: www.youtube.com
Choosing The Right Steering Wheel Control Interface
Picking the correct interface is the most important step. The wrong choice can cause hours of frustration or even damage your vehicle’s electronics.
Factors to consider:
- Vehicle compatibility: Not all interfaces work with every car. Check your car’s make, model, and year.
- Stereo compatibility: Some interfaces only work with certain brands (Pioneer, Sony, Kenwood, etc.). Double-check the interface supports your new stereo.
- Features supported: Some interfaces only support basic functions like volume and track change, while others handle phone calls, voice commands, or more.
- Wiring simplicity: Some models require manual programming and wiring, while others are plug-and-play.
- Firmware updates: Advanced interfaces offer updates for new features or bug fixes. This is useful if you plan to keep your car for years.
Popular brands include Axxess, PAC, iDatalink, and Metra. They offer detailed compatibility charts on their websites. For extra confidence, you can search for your car and stereo on their sites, or ask for advice in car audio forums.
Common mistake: Many beginners buy the interface based only on the stereo or only the car, not realizing both must match. Always check compatibility with both.
Preparing For Installation
Proper preparation is the key to a smooth install. Set aside at least two hours, and work in a well-lit, dry area. Disconnect the car’s negative battery terminal before touching any wires to avoid short circuits or airbag deployment.
Steps:
- Read manuals fully: Understand the color codes, wiring diagrams, and setup process for both the interface and stereo.
- Lay out all parts: Check you have the interface, harnesses, and adapters.
- Identify wires: Label or note key wires—especially power, ground, and the steering wheel control lines.
- Plan your routing: Decide where to run wires so they don’t interfere with moving parts or block air vents.
It’s helpful to have all the needed wiring diagrams printed or on a tablet nearby. If your car is newer, finding a diagram online may be easier than using the manual.

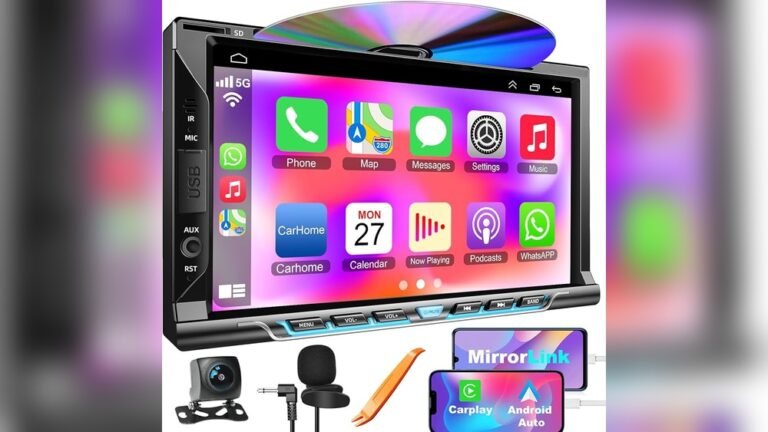
Credit: www.amazon.com
Removing The Factory Stereo
You need to access the wiring behind your car’s stereo. Removing the factory head unit is different for every vehicle, but there are common steps:
- Remove trim panels: Use a plastic trim tool to avoid scratching the dashboard.
- Unscrew the stereo: Usually, there are two to four screws holding the radio.
- Pull out the stereo: Gently slide it out, but don’t yank—there are wires connected at the back.
- Disconnect wiring harnesses: Carefully unplug all connectors from the back of the unit.
Tip: Some cars have hidden screws or special clips. Search for a dash removal guide for your specific model if you get stuck.
Safety note: Be gentle with all connectors. Broken tabs or bent pins can be difficult to fix.
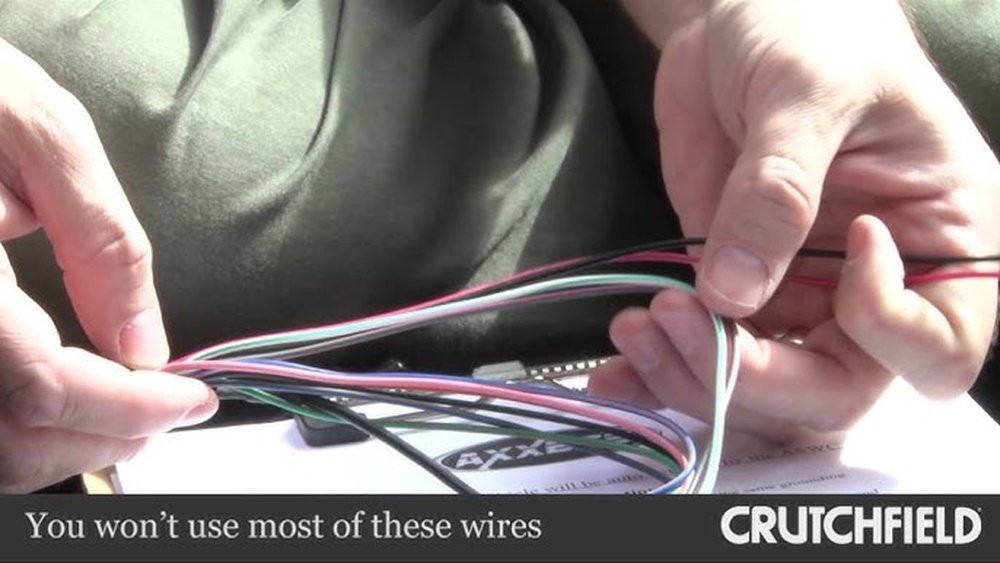
Identifying Steering Wheel Control Wires
This is a step where many first-timers get confused. The steering wheel control wires are often bundled with the main harness but can be tricky to identify.
Here’s how to do it confidently:
- Check the vehicle’s wiring diagram. The steering wheel control wire is sometimes labeled “SWC,” “Key1,” “Key2,” or “Remote.”
- In some cars, it’s a single wire; in others, it may be two or three.
- The wire color is different for every manufacturer—do not guess. For example, Toyota often uses green, Honda uses white, and Ford may use brown.
- Use a multimeter to test for resistance as you press the steering wheel buttons. The resistance should change when different buttons are pressed.
If you’re not sure, search for car-specific guides online. Many car audio forums have posts with pictures for common models.
Connecting The Steering Wheel Control Interface
Once you’ve identified all the necessary wires, it’s time to make the connections. Accuracy here is critical for everything to work smoothly.
General steps:
- Connect power and ground: The interface needs a power source (usually the red ACC wire) and a ground connection (black wire).
- Connect the steering wheel control wire(s): Splice or connect the interface’s SWC input to the correct wire(s) from your car.
- Connect to the stereo: Most aftermarket head units have a steering wheel control input. This might be a 3.5mm jack, a single wire, or a special connector. Match the interface output to the correct stereo input.
- Secure connections: Use crimp connectors, solder, or high-quality T-taps. Avoid cheap twist-and-tape methods.
- Test before final assembly: Temporarily connect the battery and test the steering wheel buttons. If everything works, move on. If not, check all connections and the interface’s programming.
Non-obvious insight: Some stereos need to be set to “steering wheel control mode” in their menus before they’ll accept input. Check your stereo’s manual if nothing works on the first try.
Programming And Calibration
Many steering wheel control interfaces require programming to match your car’s button layout and your new stereo’s brand.
Programming steps usually include:
- Set the interface’s dip switches or press program buttons to select the car and stereo brand. Each interface has a different method—follow the manual closely.
- Press and hold steering wheel buttons in a specific order as instructed. The interface “learns” which button does what.
- Save the configuration. Some interfaces auto-save; others require pressing a button.
- Test all buttons. Make sure every function (volume up/down, track change, source, etc.) Works as expected.
Practical tip: Keep the interface manual handy in the glovebox for a few weeks. If you later add features or change stereos, you’ll need to reprogram.
Common mistake: Rushing programming or skipping steps can lead to random button assignments. Take your time and follow the instructions exactly.
Reassembling The Dash
Once you’ve tested the interface and the steering wheel buttons are working, you can put everything back together.
Steps:
- Neatly bundle and secure all wires with zip ties. Keep them away from sharp edges and moving parts.
- Reinstall the stereo into the dash, reconnecting all required harnesses.
- Replace trim panels and screws, making sure everything fits flush.
- Double-check everything. Test all stereo functions, including radio, Bluetooth, and steering wheel controls.
A clean install not only looks better but also prevents rattles and electrical issues later.
Troubleshooting Common Problems
Even with careful work, issues can happen. Here are some common problems and how to fix them:
- Buttons don’t work at all:
- Recheck power, ground, and SWC connections.
- Make sure the stereo is set to accept steering wheel control input.
- Confirm the interface is programmed for your car and stereo.
- Wrong functions (e.g., volume up changes track):
- Reprogram the interface, making sure you press buttons in the correct order.
- Reset the interface and try again.
- Some buttons work, others don’t:
- Check wiring—some cars have extra steering wheel wires for advanced functions.
- Update the interface firmware if available.
- Intermittent operation:
- Inspect for loose connections or poor grounds.
- Ensure no wires are pinched or damaged when reassembling the dash.
- Car won’t start or errors on dash:
- Disconnect the interface and reconnect the battery. Some cars are sensitive to wiring changes and may need a “reset” by removing the battery for a few minutes.
Non-obvious insight: If you have factory Bluetooth or phone controls, these may not be supported by all interfaces. Some advanced models can handle them, but double-check before buying.
Comparing Popular Steering Wheel Control Interfaces
To help you choose, here’s a comparison of three top-selling interfaces:
| Brand | Vehicle Compatibility | Stereo Compatibility | Programming Needed | Average Price |
|---|---|---|---|---|
| Axxess ASWC-1 | Wide (most cars 1997+) | Universal (Pioneer, Kenwood, Alpine, Sony, etc.) | Auto-detects most vehicles | $45 |
| PAC SWI-CP2 | Wide (most cars 1990+) | Universal | Manual or auto-program | $50 |
| iDatalink Maestro SW | Wide, especially newer vehicles | Universal | USB programming on PC | $40 |
The Axxess ASWC-1 is popular for its easy setup, but the iDatalink Maestro SW is preferred for newer cars and advanced features.
Example: Installing A Steering Wheel Control Interface In A Toyota Camry
Let’s walk through a real-world example—a 2012 Toyota Camry with a new Pioneer stereo.
Step-by-step:
- Disconnect the battery to prevent any electrical problems.
- Remove dash panels with a trim tool, then unscrew and pull out the factory stereo.
- Identify the SWC wire (usually green in a Camry, pin 6 on the 20-pin harness).
- Connect the Axxess ASWC-1 interface:
- Red wire to accessory power.
- Black to ground.
- Green/Orange to the Camry SWC wire.
- 3.5mm plug to the Pioneer steering wheel input.
- Turn on ignition (not the engine), reconnect the battery, and wait for the interface to auto-detect the vehicle.
- Test all buttons. If any don’t work, press the interface’s reset button and try again.
- Reassemble the dash and enjoy restored steering wheel controls.
Result: All buttons (volume, track, mode) now control the new Pioneer stereo, just like factory.
Wiring Color Reference Table For Common Brands
For those unsure about wire colors, here’s a quick reference for popular car brands (always confirm with your manual):
| Brand | Typical SWC Wire Color | Location |
|---|---|---|
| Toyota | Green | 20-pin harness, pin 6 |
| Honda | White | Main stereo harness |
| Ford | Brown or Brown/Yellow | Main stereo harness |
| Chevrolet | Black/Yellow | Main stereo harness |
| Nissan | Orange or Orange/Black | Main stereo harness |
Warning: Wire colors change by year and trim. Always verify with your specific vehicle’s diagram.
Key Safety Tips
- Disconnect the battery before working. This prevents electrical shorts and airbag issues.
- Never cut airbag wires. If you’re unsure, double-check before cutting any wire under the dash.
- Secure all wires away from moving parts (like the steering column or pedals).
- Don’t force connectors. If something doesn’t fit, recheck compatibility.
Mistakes with car wiring can be expensive or dangerous. If you’re ever unsure, get help from a professional installer.

Credit: tacotunes.com
When To Get Professional Help
While many car owners can handle this project, some situations call for an expert:
- Your car has a premium sound system (Bose, JBL, Harman Kardon, etc. ).
- Steering wheel controls include advanced features (adaptive cruise, heated wheel, etc. ).
- You’re not comfortable identifying wires or using a multimeter.
- The car is still under warranty (dealer installs may be required).
A professional install costs $75–$200, but can save hours of frustration and prevent costly mistakes.
The Benefits Of Steering Wheel Control Interfaces
Restoring your wheel controls offers more than just convenience:
- Safety: Keep hands on the wheel, eyes on the road.
- Comfort: No reaching for the stereo in traffic.
- Value: Maintain resale value by keeping factory features.
- Customization: Some interfaces allow you to remap buttons for custom functions.
Even newer cars with advanced electronics can often use these interfaces, thanks to updates and improved compatibility.
Additional Resources
For more detailed guides, wiring diagrams, and community help, check out:
These resources offer car-specific instructions and troubleshooting help.
Frequently Asked Questions
How Do I Know Which Steering Wheel Control Interface To Buy?
You need to check both your car’s make, model, and year, as well as your new stereo’s brand. Most interface manufacturers have compatibility charts on their websites. If you’re unsure, ask for advice in car audio forums or at an electronics retailer.
Can I Install A Steering Wheel Control Interface Without Cutting Any Wires?
In many cases, yes. Some interfaces use plug-and-play harnesses that match your car. However, some vehicles require splicing one or two wires. Using high-quality connectors and following guides helps make safe, clean connections.
Will My Steering Wheel Controls Work With All Aftermarket Stereos?
Most modern aftermarket stereos support steering wheel controls, but you must connect them properly and sometimes enable the feature in the stereo’s menu. Some budget stereos may not have this input—always check before buying.
What If My Car Has Bluetooth Or Phone Controls?
Basic interfaces handle volume and track buttons, but advanced features (phone, voice, etc. ) May need a more advanced interface. Check product descriptions for “full support” of Bluetooth or phone buttons.
Is It Possible To Damage My Car By Installing A Steering Wheel Control Interface?
If you follow instructions, the risk is low. Major mistakes (cutting airbag wires, connecting power incorrectly) can cause problems. If you’re ever unsure, consult a professional installer or an experienced car audio technician.
Upgrading your stereo and restoring steering wheel controls is a rewarding project for many car owners. With the right interface, tools, and preparation, you can enjoy the best of both worlds—modern sound with factory convenience—without compromise.