Bronco Stereo Upgrade: Transform Your Ride With Superior Sound
Upgrading the stereo in your Ford Bronco can completely change how you enjoy your drives. Whether you own a classic Bronco or a new model, a stereo upgrade can mean clearer sound, more music options, and even better resale value.
Many Bronco owners feel disappointed with the factory stereo, especially after driving on highways or off-road trails where road noise is high. The good news is that upgrading is easier than most people think, and you can get a big improvement without spending a fortune.
This guide covers everything a beginner needs to know about a Bronco stereo upgrade. You’ll learn about the main parts, what really matters, common mistakes to avoid, and how to choose the right system for your needs. Real examples, simple data, and easy steps will help you make smart decisions—no technical knowledge required.
Why Upgrade Your Bronco Stereo?
Many people ask why they should replace their Bronco’s factory stereo. Here are some of the most important reasons:
- Sound quality: Factory speakers and head units are often made with basic materials. This means you get flat bass, unclear vocals, and weak volume.
- Modern features: New stereos support Bluetooth, Apple CarPlay, Android Auto, and USB connections. Older Bronco models often lack these.
- Resale value: A quality stereo system can make your Bronco more attractive to buyers.
- Personal enjoyment: Good music makes road trips or daily commutes more fun.
A simple upgrade can bring your Bronco up to date and make it feel new again.
Key Parts Of A Bronco Stereo Upgrade
Before upgrading, it’s helpful to know the basic parts of a stereo system. Here’s what you’ll deal with:
- Head Unit: The main control panel (radio, CD, screen, etc. ).
- Speakers: Produce the sound in your doors, dash, or rear panels.
- Amplifier: Boosts power to the speakers for clearer and louder sound.
- Subwoofer: Adds deep bass, which you feel as much as hear.
- Wiring & Adapters: Connect all the parts together.
Most beginners start with the head unit and speakers. Adding an amplifier or subwoofer is optional for stronger sound.
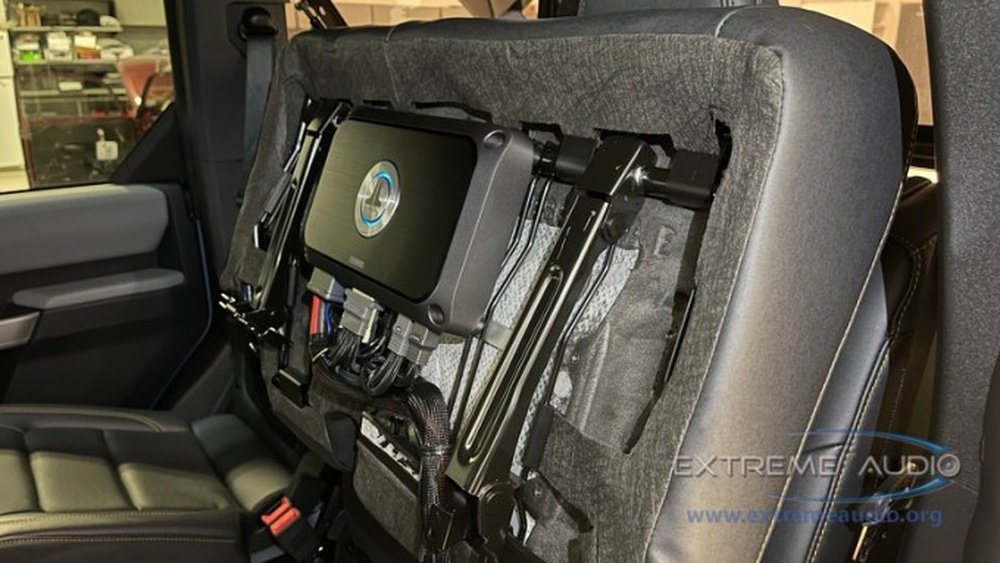
Credit: www.saleenperformance.com
Comparing Factory Vs Aftermarket Stereos
Let’s look at how a typical Bronco factory stereo compares with common aftermarket upgrades. This will help you see what you’re really getting.
| Feature | Factory Stereo | Aftermarket Upgrade |
|---|---|---|
| Power Output | 15-20 watts RMS | 40-100 watts RMS |
| Connectivity | AM/FM, sometimes CD | Bluetooth, USB, CarPlay/Android Auto |
| Sound Quality | Basic, limited bass | Clear, rich, deep bass |
| Customization | Very limited | High (EQ, sound shaping) |
The difference is clear: aftermarket stereos offer more features and better sound for not much more money.
Choosing The Right Head Unit
The head unit is the “brain” of your stereo. When shopping, focus on these main points:
- Compatibility: Make sure the new unit fits your Bronco’s dash size (single or double DIN).
- Features: Look for Bluetooth, USB, Apple CarPlay, Android Auto, and a clear touchscreen.
- Ease of use: Large buttons and a simple menu are best for driving.
- Wattage: Higher wattage means louder, cleaner sound.
A popular pick is the Sony XAV-AX1000. It fits most Broncos, has a 6.2-inch touchscreen, supports CarPlay, and costs under $300.
Single Din Vs Double Din
- Single DIN: Standard size, about 2 inches tall. Fits older Broncos.
- Double DIN: Twice as tall, for bigger touchscreens. Fits newer Broncos or with dash kits.
Check your Bronco’s dash opening before buying.
Upgrading Your Speakers
Most factory Bronco speakers are made of paper and wear out quickly. Upgrading speakers is the simplest way to improve sound.
- Front doors: Most important for clear music and voices.
- Rear speakers: Add depth and “fill” the vehicle with sound.
- Speaker size: Common Bronco sizes are 6.5-inch for doors and 4-inch for dash.
Look for speakers with:
- Polypropylene or composite cones (last longer, sound better)
- Silk or fabric tweeters (for smooth highs)
- 60-100 watts RMS (for power without distortion)
Popular brands for beginners are JBL, Pioneer, and Alpine.
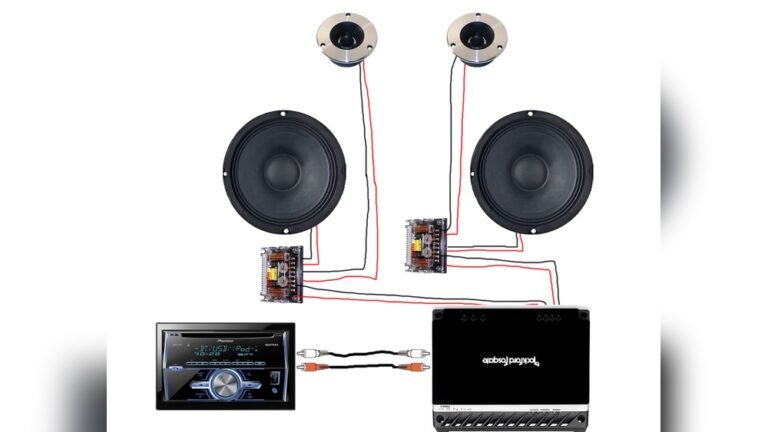
Adding An Amplifier
An amplifier is not required, but it makes a big difference if you want loud, clear sound.
- 4-channel amps power all your main speakers.
- Mono amps are for subwoofers only.
A small amp (about 50 watts RMS per channel) is enough for most Broncos. For example, the Kenwood KAC-M3004 is compact and beginner-friendly.
Why Add A Subwoofer?
If you want deep bass for hip-hop, rock, or pop, a subwoofer is a smart upgrade. Factory systems usually have weak bass.
Options include:
- Powered under-seat subwoofers: Easy to install, don’t take up cargo space.
- Enclosed subwoofers: Larger, for more bass, but take up more room.
A powered 8-inch subwoofer is enough for most Bronco owners.
Installation: Diy Or Professional?
Many Bronco upgrades are beginner-friendly, but you’ll need basic tools and time. Here’s a simple guide:
- DIY: Save money, learn new skills. Watch YouTube tutorials for your Bronco model.
- Professional: Faster, often comes with a warranty, less risk of damage.
Expect to pay $100–$300 for professional installation, depending on your location and system complexity.
Key Steps For A Diy Bronco Stereo Upgrade
If you want to try installing your own stereo, follow these steps:
- Disconnect the battery for safety.
- Remove the factory stereo using the right tools (panel poppers, screwdrivers).
- Install the new wiring harness. This connects your new stereo to the Bronco’s wiring without cutting wires.
- Mount the new head unit. Make sure it fits snugly and all connections are solid.
- Replace speakers. Remove door or dash panels, unscrew old speakers, and connect new ones.
- Install the amplifier and subwoofer (if needed). Run power wires from the battery, keep cables neat and safe.
- Test everything before putting panels back.
Two beginner mistakes to avoid:
- Forgetting to disconnect the battery (can blow fuses or damage electronics)
- Not labeling wires or taking photos before removing parts
Cost Breakdown For A Typical Bronco Stereo Upgrade
How much does a Bronco stereo upgrade cost? Here’s a sample breakdown for a basic system:
| Part | Budget Option | Mid-Range Option |
|---|---|---|
| Head Unit | $80-$150 | $250-$400 |
| Speakers (set of 4) | $60-$100 | $120-$250 |
| Amplifier | $70-$120 | $150-$300 |
| Subwoofer | $80-$150 | $200-$400 |
| Wiring/Adapters | $30-$50 | $50-$80 |
| Professional Labor | $100-$200 | $250-$350 |
A basic DIY system can cost as little as $200–$400 if you reuse some parts and do the work yourself. A full upgrade with professional help may run $1,000 or more.
Common Mistakes To Avoid
Many beginners make the same errors. Here’s what to watch out for:
- Ignoring speaker size: Always measure before buying.
- Not using a wiring harness: Cutting factory wires can cause problems later.
- Skipping sound deadening: Door panels can rattle without sound-deadening material.
- Overpowering speakers: Too much wattage can burn out cheap speakers.
A smart buyer double-checks compatibility and reads reviews before ordering.
Practical Tips For The Best Results
- Set a budget before shopping. Upgrades can get expensive fast.
- Plan your system. Decide if you want just better sound or extra features (navigation, backup camera, etc. ).
- Buy from trusted sources. Choose reputable stores or websites.
- Test before finishing. Always check sound before reinstalling panels.
One non-obvious tip: If you drive off-road, choose water-resistant speakers and protect wiring from dust and moisture.

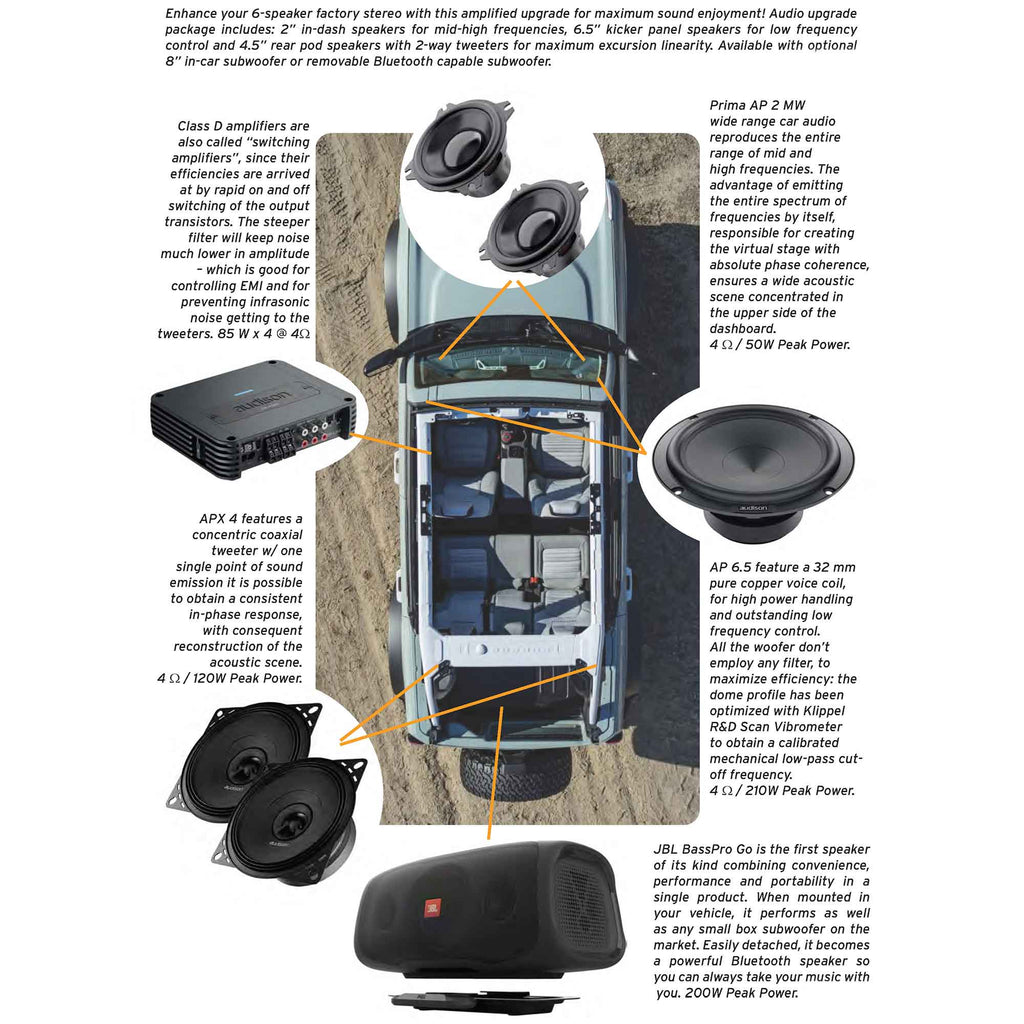
Credit: www.westminsterspeed.com
Real-world Example: Upgrading A 2022 Bronco
Let’s look at a real upgrade for a 2022 Ford Bronco Base model.
- Factory system: 6-speaker system, no subwoofer, basic head unit.
- Upgrade plan:
- Sony XAV-AX1000 head unit ($299)
- Alpine S-S65 door speakers (front and rear, $120/pair)
- Kicker 46HS10 powered subwoofer ($299)
- Metra wiring harness and dash kit ($40)
- DIY installation (no labor cost)
Total cost: About $880
Result: The owner reported louder, clearer sound, better bass, and easy phone pairing. The new touchscreen added navigation and backup camera support.
How To Maintain Your Upgraded Stereo
Once you upgrade, keep your system in top shape:
- Avoid maxing out the volume; it can damage speakers and your ears.
- Check wiring every 6 months for loose connections or wear.
- Clean screens with a soft, dry cloth.
- Update firmware on modern head units for new features and security.
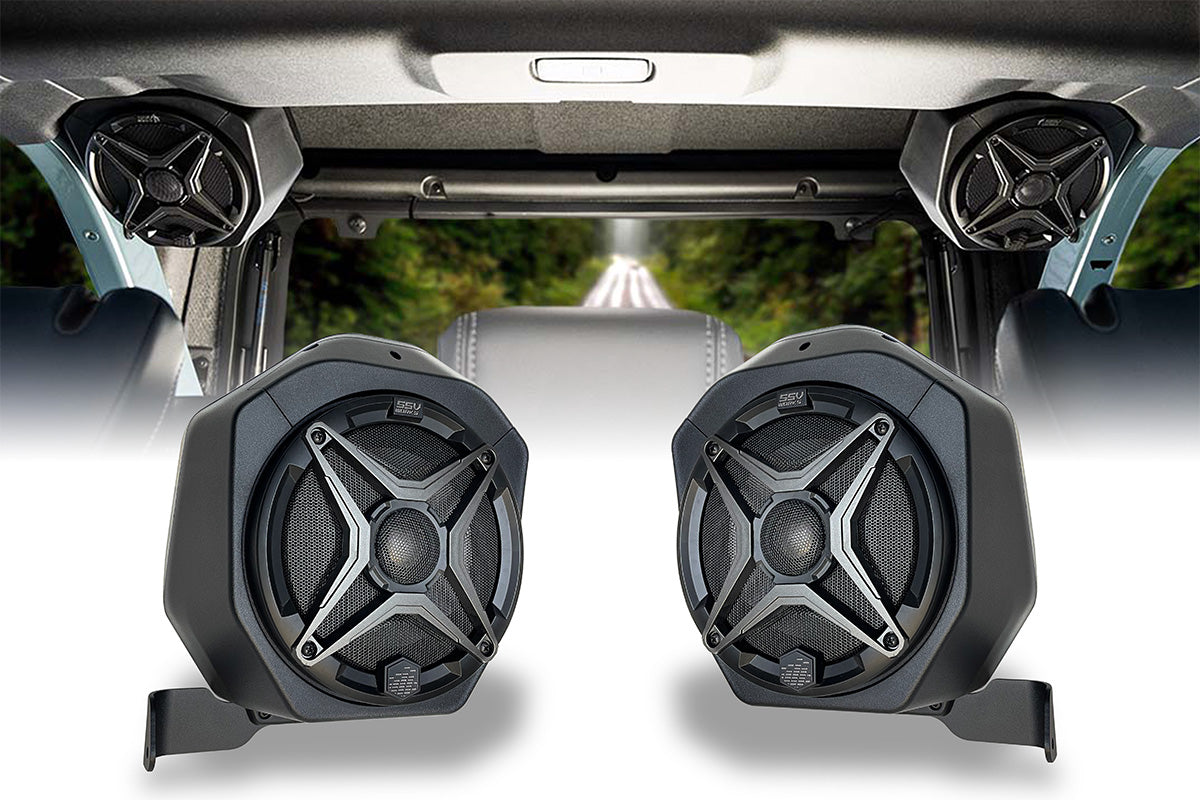
Credit: ssvworks.com
Upgrading Classic Broncos Vs New Models
Older Broncos (1966–1996) need more planning. Dash openings may be smaller, and wiring is often outdated.
- Dash kits are needed to fit modern stereos.
- Extra wiring may be required for power and speakers.
- Classic look: Some brands offer retro-style head units with Bluetooth and USB.
New Broncos (2021+) are easier: they have standard dash sizes and better wiring. You can add touchscreens and advanced features more easily.
Are Upgrades Worth It?
For most Bronco owners, yes. A good stereo makes every drive better and adds value to your vehicle. Even a basic upgrade can be done in a weekend and gives lasting benefits.
Two final insights most beginners miss:
- Software updates: Many modern stereos can get updates—don’t ignore these, as they fix bugs or add features.
- Factory warranty: Upgrading your stereo doesn’t usually void your car warranty if you use plug-and-play adapters and avoid cutting wires.
For more details and step-by-step guides, check the Crutchfield website.
Frequently Asked Questions
What Size Speakers Fit In My Bronco?
Most Broncos use 6.5-inch speakers in the doors and 4-inch speakers in the dash. Always double-check your year and trim, as some models have different sizes.
Will A New Stereo Drain My Battery Faster?
No, as long as you don’t install a very large amplifier or subwoofer. Most modern head units use similar power as factory units. If you add a big amp or sub, consider upgrading your battery.
Do I Need To Replace All My Speakers At Once?
Not always. Replacing just the front speakers gives the biggest improvement. You can upgrade rear speakers later for extra depth.
Can I Keep My Steering Wheel Controls?
Yes, with the right adapter module. Many brands sell plug-and-play adapters so you can control volume, tracks, and calls from your wheel.
How Long Does Installation Take?
A basic head unit and speaker swap can take 2–4 hours for a beginner. Adding an amplifier or subwoofer may take longer. Professional installers can finish most upgrades in half a day.
Upgrading your Bronco stereo is one of the best changes you can make for comfort and fun. With the right parts and a little planning, you’ll enjoy better sound for years to come.