Jl Audio Amp Repair: Expert Tips to Fix Your Amplifier Fast
If you own a car audio system, you probably know JL Audio. Their amps are famous for strong bass and clear sound. But even top brands can break. When your JL Audio amp stops working, it can ruin your listening experience. Many people rush to buy a new one, but most problems can be repaired. This guide will help you understand JL Audio amp repair in a simple, beginner-friendly way.
You’ll learn how to spot problems, what you can safely fix yourself, and when to call a pro. We’ll also cover costs, the tools you need, and how to avoid common mistakes. If you want to save money and keep your sound system running, this article is for you.
Why Jl Audio Amps Fail
JL Audio makes reliable amplifiers, but no electronic device lasts forever. Knowing why amps fail helps you avoid future problems.
- Overheating: Playing music too loud for hours can make the amp too hot.
- Wrong wiring: Incorrect installation or loose wires cause shorts.
- Moisture: Water or humidity damages internal parts.
- Old age: Parts like capacitors wear out after years of use.
- Power surges: Sudden voltage spikes can fry components.
For example, using a JL Audio JX500/1D amp in a wet trunk can damage it faster than usual. Most failures are due to wiring mistakes or overheating, not factory defects.
Common Symptoms Of A Broken Jl Audio Amp
Before you fix anything, you need to know what’s wrong. Watch for these signs:
- No sound: The amp powers on but speakers are silent.
- Amp won’t power up: No lights, no sound—completely dead.
- Distorted sound: Music is fuzzy or cuts in and out.
- Protect mode: The amp’s protection light stays on.
- Strange smells: Burnt or chemical smells mean possible electrical damage.
- Blown fuses: Fuses keep blowing after replacement.
If your JL Audio amp shows these issues, don’t panic. Many problems are easier to fix than you think.
Safety First: What Beginners Must Know
Working on car amps is not dangerous if you follow basic safety steps. Here are some must-do tips:
- Disconnect power: Always remove the negative battery terminal.
- Wait a few minutes: Let capacitors drain before touching anything.
- Avoid water: Keep work area dry.
- Use insulated tools: Reduces shock risk.
Never try to repair an amp plugged into power. If you smell burning, stop and call a professional.
Basic Tools For Jl Audio Amp Repair
You don’t need expensive gear to do basic repairs. Start with these tools:
- Screwdrivers: Phillips and flat-head, for opening the case.
- Multimeter: Checks voltage, resistance, and continuity.
- Soldering iron: For fixing loose or burnt wires.
- Desoldering pump: Removes old solder.
- Replacement fuses: Always have extras in the right size.
- Flashlight: Helps you see small parts.
These tools cost about $40–$100 and can be used for many repairs.

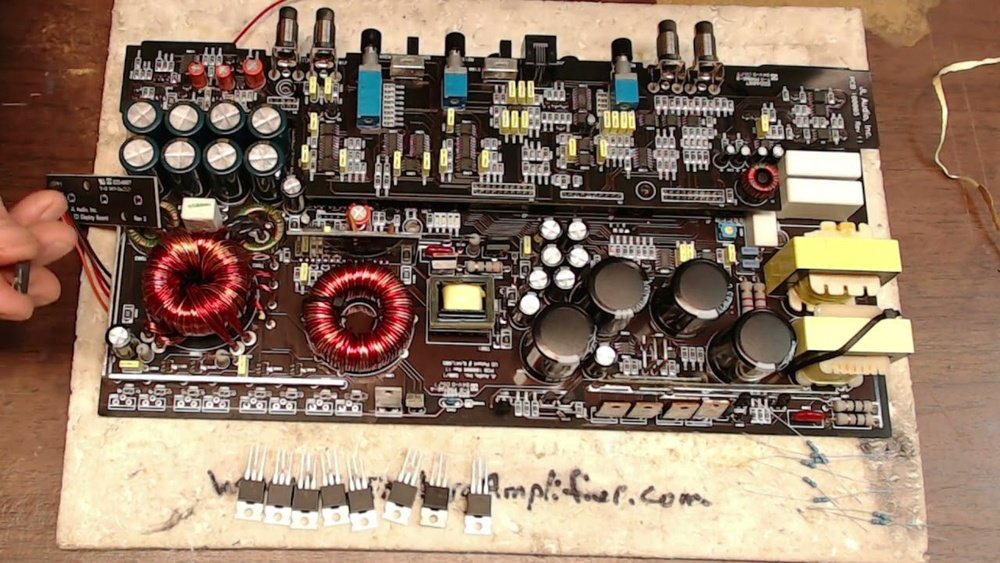
Credit: www.youtube.com
Step-by-step: Diagnosing A Jl Audio Amp
Finding the real problem is key. Here’s how to check your amp:
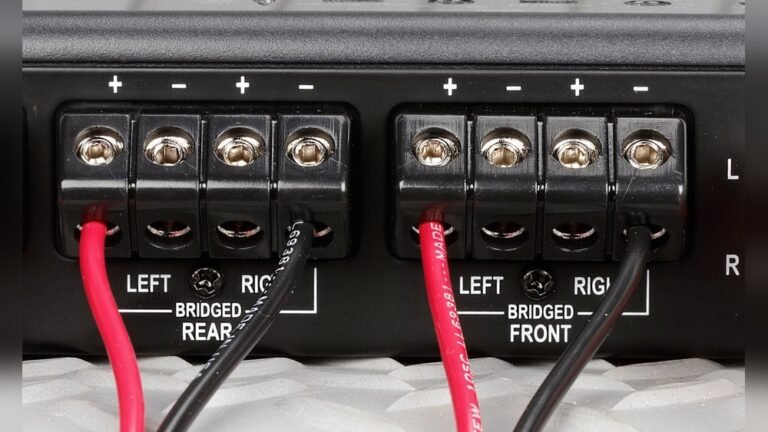
1. Check All Connections
Make sure the power, ground, and remote wires are tight.
2. Inspect Fuses
Remove and test fuses with your multimeter.
3. Look For Visible Damage
Open the case (if warranty expired) and check for burnt parts.
4. Test Speaker Outputs
Connect a working speaker to see if sound comes out.
5. Measure Voltage
Use a multimeter on the power terminals. You should see 12–14V.
If the amp still doesn’t work, write down what you find. This helps if you ask a pro for help.
Most Common Diy Jl Audio Amp Repairs
Many amp problems can be fixed at home. Here are repairs you can try:
Replacing Blown Fuses
- Turn off all power.
- Remove the fuse and compare it to a new one.
- Replace only with the same rating (e.g., 30A).
Fixing Loose Wires
- Check inside for wires that came off the board.
- Resolder wires using a soldering iron.
- Make sure no wires touch each other.
Cleaning Corrosion
- Lightly brush green or white buildup off terminals.
- Use contact cleaner and a small brush.
- Dry completely before use.
Resetting Protect Mode
- Disconnect all speakers and power.
- Wait 10 minutes.
- Reconnect power first, then speakers.
Be careful not to damage the circuit board. If you see burnt parts, stop and get professional help.
When To Call A Professional
Not all amp repairs are safe for beginners. Call a pro if:
- The amp is still under warranty. Opening it may void your coverage.
- You see burnt, melted, or cracked parts.
- The amp still fails after changing fuses and wires.
- There’s a strong burning smell.
Professional repair usually costs $80–$200 depending on the problem. For high-end models like the JL Audio HD750/1, pro repair is often cheaper than replacement.
Cost Comparison: Repair Vs. Replacement
Is it worth fixing your amp, or should you buy a new one? Here’s a quick comparison:
| Repair Type | Average Cost | Time Required | Warranty Impact |
|---|---|---|---|
| DIY Fuse Replacement | $5–$15 | 10–20 minutes | Safe if done right |
| Professional Repair | $80–$200 | 2–7 days | May void if opened |
| New JL Audio Amp | $180–$600+ | Immediate | Full warranty |
Most users save money by repairing simple problems. But if repairs cost more than half a new amp, consider replacement.

Credit: www.reddit.com
Common Mistakes In Jl Audio Amp Repair
Many beginners make errors that cause more damage. Avoid these:
- Using wrong fuse size: Never use a higher-rated fuse “just to test.”
- Skipping power disconnect: Always remove battery before opening amp.
- Guessing the problem: Test and confirm before replacing parts.
- Touching circuit board with bare hands: Use gloves or tools to avoid static damage.
- Rushing the job: Take your time—hurry leads to mistakes.
One non-obvious tip: Always check the vehicle’s ground connection. A weak ground causes many amp problems, but people often blame the amp itself.
How To Prevent Jl Audio Amp Problems
Good care keeps your amp running longer. Follow these tips:
- Keep amp cool: Mount in a place with airflow. Avoid stacking items on top.
- Check wiring yearly: Loose wires cause over 30% of repairs.
- Use proper gauge wire: Too-thin wire overheats and fails.
- Clean terminals: Corrosion lowers sound quality and power.
- Avoid moisture: Never mount amps near leaky windows or wet trunks.
Many people forget to check speaker wires. Damaged speaker wires can short the amp and cause “protect mode. ”
Example: Diagnosing A Jl Audio 500/1 Amp
Let’s say your JL Audio 500/1 stops working. The power light is on, but there’s no sound.
Step-by-step:
- Check the speaker wires for breaks or shorts.
- Test the RCA cables from the head unit.
- Swap in a known-good speaker.
- Reset the amp by disconnecting power for 10 minutes.
- Measure voltage at the amp’s terminals.
If all checks are normal, the problem may be inside. At this stage, a pro should look for failed output transistors or a bad relay.
Choosing A Reliable Repair Shop
If DIY doesn’t fix your JL Audio amp, pick a trusted repair shop. Here’s what to look for:
- JL Audio certification: Shops trained by JL Audio know your amp best.
- Good reviews: Check online ratings.
- Warranty on repairs: A 30–90 day guarantee is standard.
- Clear pricing: Get a quote before work starts.
Avoid shops that charge for “diagnosis” but don’t explain the problem. Always ask if the shop uses genuine JL Audio parts.
Comparing Diy And Professional Repair
To help you decide, here’s a side-by-side look:
| Factor | DIY Repair | Pro Repair |
|---|---|---|
| Cost | Low (parts only) | Higher (parts + labor) |
| Skill Needed | Basic to moderate | Advanced |
| Time | Immediate (if tools ready) | 1–7 days |
| Risk | Possible mistakes | Low if certified |
| Warranty | May void product warranty | Shop warranty (usually) |
For simple problems, DIY saves time and money. For complex issues, a pro is safer.
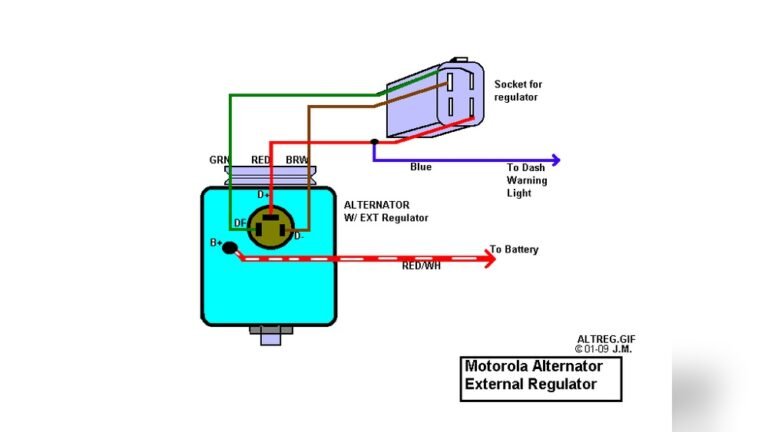
Where To Find Jl Audio Amp Schematics
Schematics (wiring diagrams) help you understand your amp’s insides. Find them:
- In the JL Audio manual (often online)
- On forums like DIYMobileAudio
- From authorized repair shops
Do not trust random websites. Always use diagrams from official or trusted sources, like the JL Audio Support page.
Credit: www.diyaudio.com
Frequently Asked Questions
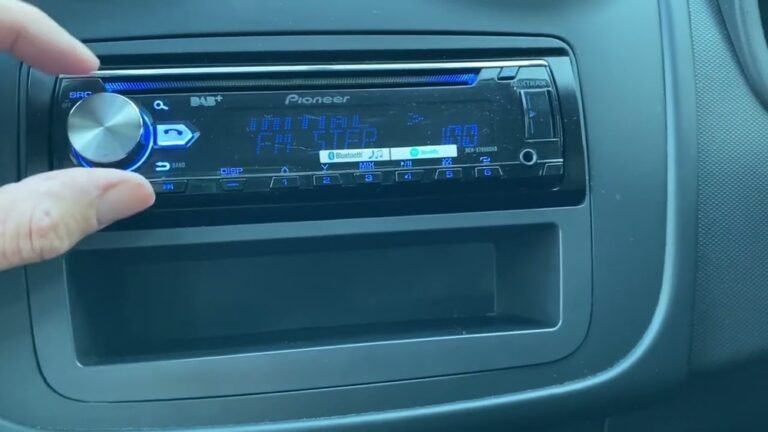
How Do I Know If My Jl Audio Amp Is In Protect Mode?
When your amp is in protect mode, a red or orange light usually turns on. The amp will not play sound to prevent further damage. Check the manual for your exact model’s light codes.
Can I Use Any Fuse For My Jl Audio Amp?
No. Only use the exact fuse rating listed in your manual or on the amp’s body. Using the wrong fuse can damage your amp and void the warranty.
Is It Safe To Open My Jl Audio Amp For Repair?
It’s generally safe if you disconnect power first and wait a few minutes. However, opening the amp may void your warranty, so check before you start.
What Causes My Jl Audio Amp To Keep Blowing Fuses?
Common reasons are shorted wires, a faulty speaker, or internal amp failure. Fix wiring issues first. If fuses still blow, get the amp checked by a pro.
Where Can I Find Jl Audio Amp Repair Parts?
You can buy parts from authorized JL Audio dealers, electronic parts stores, or trusted online shops. Always match the exact part numbers for your model.
—
Repairing a JL Audio amp is not as hard as it looks. Most problems come from wiring, fuses, or simple wear and tear. With the right tools and knowledge, you can fix many issues at home and save money. If you’re ever unsure, don’t risk your equipment—call a pro instead.
With care, your JL Audio amp can give you years of clear, powerful sound.