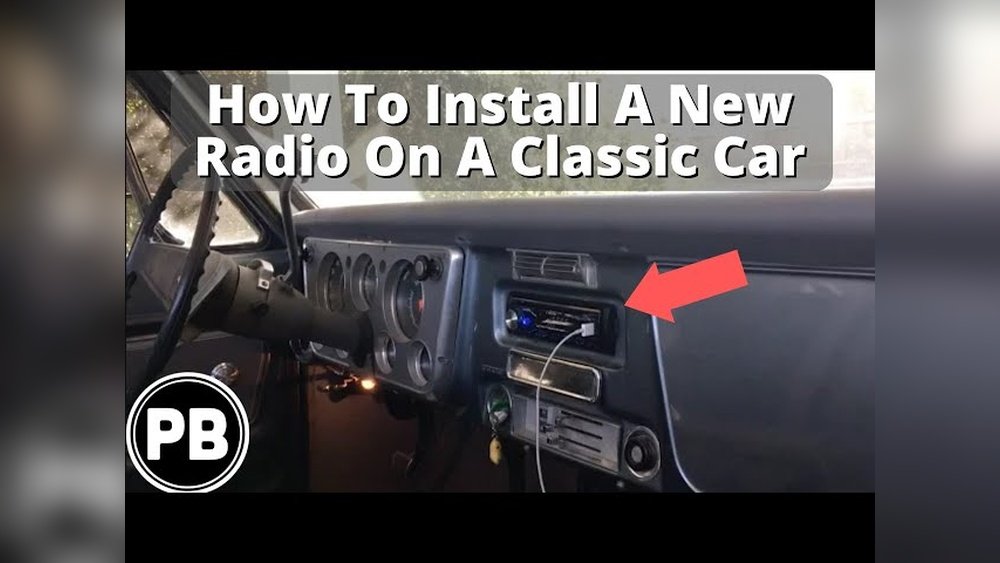
How to Install a Car Stereo in an Old Car: Step-by-Step Guide
Installing a new car stereo in an old car is a rewarding project. Many vintage vehicles come with outdated or broken audio systems. Upgrading to a modern stereo can transform your driving experience with better sound and more features like Bluetooth, USB, or even smartphone integration.
While the process may sound technical, beginners can handle it with patience and the right guidance.
This article explains every step in simple language. You’ll learn which tools you need, what to watch for, and how to avoid common mistakes. Real-life examples and data help you make confident choices, even if you’re new to car electronics.
Why Upgrade The Stereo In An Old Car?
Most older cars have basic radios or cassette players. These systems usually lack:
- Clear sound quality
- Bluetooth or USB ports
- Support for modern devices
A new stereo can bring these features, making your car feel modern without losing its classic charm. According to the Consumer Technology Association, over 75% of drivers say modern audio features improve their driving enjoyment. Upgrading your stereo also adds value if you ever sell the car.
What You Need Before Starting
Preparation is key to a smooth installation. Gather these items:
- New car stereo (head unit)
- Vehicle-specific wiring harness
- Dash kit (to fit the new stereo into your car’s dashboard)
- Basic tools: Screwdriver set, wire stripper, electrical tape, panel removal tool, crimp connectors, multimeter (optional but helpful)
- Owner’s manual for your car (for wiring diagrams)
- Soldering iron (optional for more secure connections)
Check your new stereo’s size. Most older cars use a single-DIN (2 inches tall) or double-DIN (4 inches tall) unit. Measure your dash opening to avoid surprises.
Example: Tool Comparison
Here’s a quick look at common tools and their uses:
| Tool | Main Purpose | Beginner-friendly? |
|---|---|---|
| Screwdriver set | Removing dash and old stereo | Yes |
| Wire stripper | Preparing wires for connection | Yes |
| Multimeter | Testing wires for power/ground | Some practice needed |
Many beginners skip the multimeter but it’s helpful to confirm wiring, especially in very old cars with faded color codes.
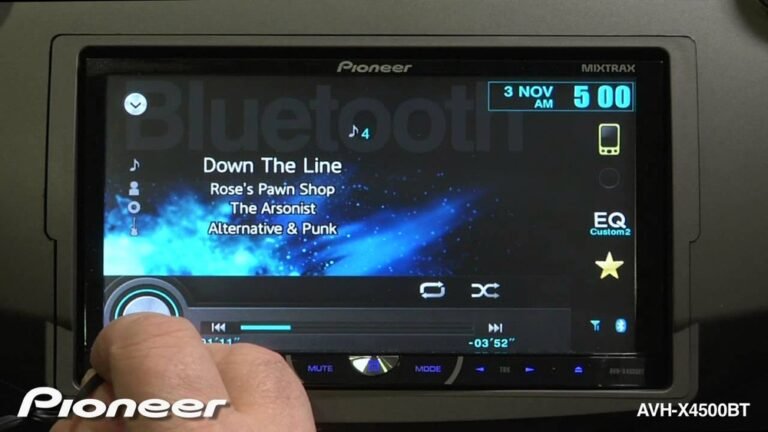
Credit: www.youtube.com
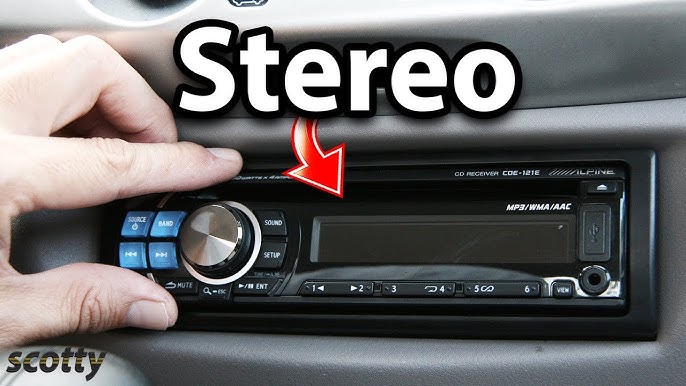
Step 1: Remove The Old Stereo
Safety first: Disconnect the negative battery cable before touching any wiring. This prevents short circuits or shocks.
- Use a panel removal tool to gently pop off the dashboard trim.
- Unscrew any mounting bolts or screws holding the old stereo.
- Slide out the old unit. Disconnect the wiring harness and antenna cable from the back.
If the old stereo is original, the connectors may look different from modern plugs. Take a photo of the wiring before you unplug anything. This makes it easier if you need to check connections later.
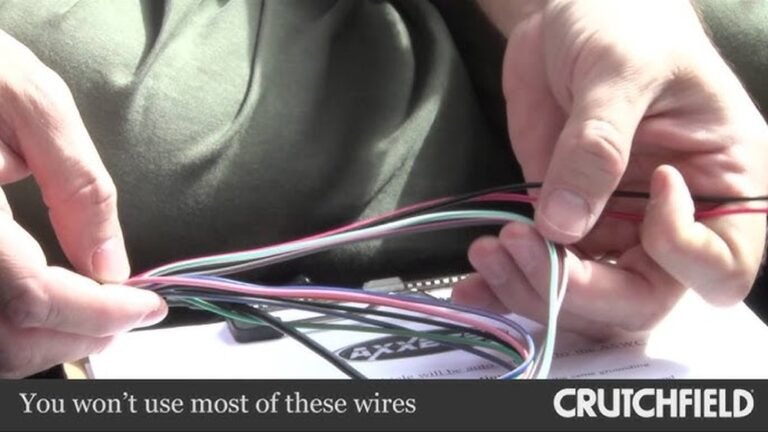
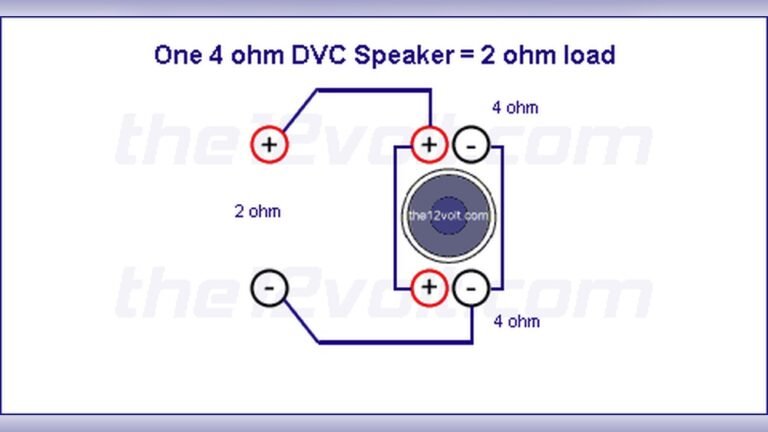
Step 2: Prepare The Wiring Harness
Modern stereos use standardized plugs, but old cars often have unique wiring. A wiring harness adapter connects your car’s wires to the new stereo without cutting factory cables.
- Match the colors on the adapter to the new stereo harness. Common color codes:
- Yellow: Constant 12V power
- Red: Switched 12V power
- Black: Ground
- Blue: Antenna/amp turn-on
- White/gray/green/purple: Speaker wires
- Twist wires together and secure with crimp connectors or solder.
- Wrap each connection with electrical tape.
Non-obvious tip: Not all cars follow the standard wire colors. If your wires are faded or unclear, use a multimeter to test for power and ground. This saves time and prevents mistakes.
Wiring Color Reference Table
| Wire Color | Function | Typical Location |
|---|---|---|
| Yellow | Constant power (memory) | Battery connection |
| Red | Accessory power | Ignition switch |
| Black | Ground | Chassis or frame |
| Blue | Antenna/amp turn-on | Remote wire |
Step 3: Install The Dash Kit And New Stereo
Most old cars need a dash kit to fit the new stereo’s shape. Follow these steps:
- Attach the dash kit to the stereo using screws provided.
- Slide the stereo (with dash kit) into the opening.
- Secure with mounting brackets or screws. Avoid over-tightening, which can crack plastic trim.
Plug the wiring harness and antenna into the back of the stereo. Double-check each connection.
Beginner mistake: Forgetting to connect the ground wire is common. This can cause the stereo not to power on, or create static noise.
Step 4: Test Before Reassembly
Reconnect the negative battery cable. Turn on the car and test the stereo:
- Power: Does it turn on and off with the ignition?
- Sound: Do all speakers work? Try left/right and front/rear balance.
- Features: Test radio, USB, Bluetooth, and CD functions.
- Reception: Check FM/AM antenna signal.
If something doesn’t work, turn off the car and recheck wiring. Sometimes a wire is loose or connected to the wrong spot.
Non-obvious insight: Test all features before putting the dash back together. It’s easier to fix problems now than after reassembly.
Step 5: Reassemble The Dashboard
Once everything works, slide the stereo fully into place. Attach the dash trim and any screws you removed. Wipe down the area to remove fingerprints or dust.
Old cars may have fragile plastic. Take your time and avoid forcing parts.
Common Problems And Solutions
Even with careful work, issues can pop up. Here are typical problems:
- No power: Check the fuse, ground wire, and battery connection.
- No sound: Make sure speaker wires match the correct colors. Test with a known good speaker if unsure.
- Static or whine: Recheck ground connection. Move ground wire to a bare metal spot if needed.
- Features don’t work: Some functions, like steering wheel controls, need extra adapters. Check your stereo’s manual.
Practical example: In a 1990 Honda Accord, the factory radio often shares a ground with the dashboard lights. If you lose both, check the ground wire behind the dash.

Credit: bossaudio.com
Choosing The Right Stereo For Your Old Car
Not all new stereos fit every old car. Here’s what to check:
- Size: Measure your dash opening. Most cars use single-DIN or double-DIN. Some classic cars need custom kits.
- Features: Decide what you want—Bluetooth, USB, CD, or smartphone apps.
- Power output: Most modern stereos provide 15–25 watts RMS per channel. If you plan to add an amplifier, look for preamp outputs (RCA jacks).
- Compatibility: Some very old cars use positive ground systems. Most stereos require negative ground; check your car’s wiring or consult a specialist.
Stereo Feature Comparison
Here’s a quick comparison of popular stereo features:
| Feature | Benefit | Good for Beginners? |
|---|---|---|
| Bluetooth | Hands-free calling, music streaming | Yes |
| USB Port | Play music from drives/phones, charge devices | Yes |
| CD Player | Plays traditional CDs | Yes, but becoming less common |
| Apple CarPlay/Android Auto | Integrates with smartphones | Requires some setup |
Choose a stereo that matches your needs, not just the latest model.
Practical Tips For A Successful Install
- Label wires as you disconnect them.
- Take photos at each step.
- Use a wiring harness adapter to avoid cutting factory wires.
- Set aside 2–3 hours for your first install.
- Work in good light and keep screws in a cup.
- Check your car’s manual for hidden screws or tricky trim.
Extra insight: Many auto parts stores will help you find the right harness or dash kit if you bring your car’s make, model, and year.
Cost Breakdown And Time Estimate
Installing a stereo yourself is cheaper than hiring a shop. Here’s a typical breakdown:
- Stereo (head unit): $40–$200 (basic to advanced)
- Wiring harness: $10–$25
- Dash kit: $15–$40
- Tools (if needed): $20–$50 (many people already own basic tools)
Average total cost: $65–$265 for most projects.
Professional install: $70–$150 extra.
Time needed: 2–3 hours for beginners, less if you have some experience.
Safety And Legal Considerations
- Never work on wiring with the battery connected.
- Avoid loose wires that can short or interfere with pedals.
- Do not block airbag panels or vents.
- In some states, bright screens or video playback while driving are not allowed.
Check your local laws if you plan to use advanced features.
When To Seek Professional Help
While most installs are DIY-friendly, ask a pro if:
- Your car has a factory amplifier or premium sound system.
- The dashboard is tightly packed or uses rare screws.
- You’re unsure about wiring, especially in classic cars with non-standard systems.
- You want a clean, factory-style look.
Shops have special tools for stubborn trim or rare connectors. For unique vintage cars, a specialist can help preserve the original look while adding modern features.
Protecting Your New Stereo
Once installed, keep your stereo safe:
- Park in well-lit areas.
- Remove the faceplate when leaving the car, if possible.
- Consider a locking dash kit for classic cars.
- Keep your stereo’s serial number and receipt in a safe place.
Some insurance companies offer coverage for aftermarket electronics. Check if your policy covers theft or damage.

Credit: www.wikihow.com
Where To Learn More
For more details on car stereo wiring and compatibility, check expert guides at Crutchfield. This resource helps with vehicle-specific kits and wiring diagrams.
Frequently Asked Questions
Can I Install A New Stereo Without Special Tools?
Yes, most installs only require basic tools like screwdrivers and wire strippers. A panel removal tool helps avoid breaking trim but isn’t required.
What If My Old Car Has No Wiring Harness Adapter Available?
In rare cases, you may have to connect wires directly. Use the car’s wiring diagram and a multimeter to identify each wire. Solder or crimp connections securely and tape them to prevent shorts.
Will A New Stereo Drain My Old Car’s Battery?
A properly installed stereo should not drain the battery when off. If the stereo stays on after the ignition is off, check the red (accessory) and yellow (constant) wires are connected correctly.
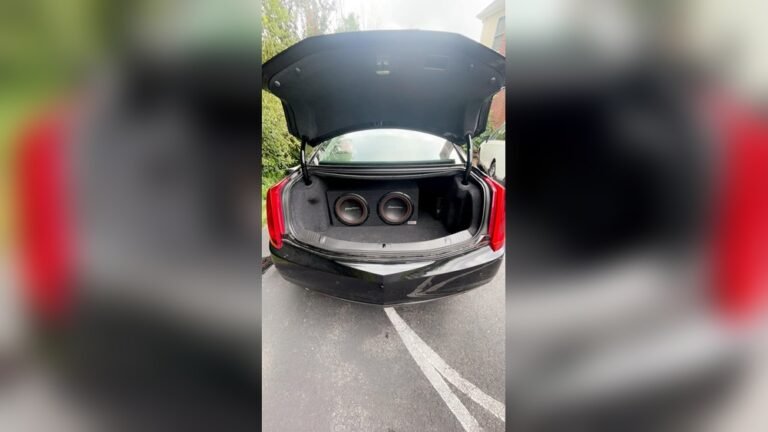
Do I Need To Upgrade My Speakers Too?
You don’t have to, but new speakers often improve sound quality. Factory speakers in old cars may be worn out or too weak for modern stereos.
Can I Keep My Car Looking Original?
Yes, you can use a dash kit designed to match your car’s interior. Some stereos have a “classic” look with modern features. Hide extra wires and remove the faceplate when not in use for a clean appearance.
Upgrading a car stereo in an old car is a project that brings new life to your ride. With careful planning and the right tools, even beginners can achieve great results. Take your time, follow each step, and enjoy a modern sound in your classic car.