How to Install an Android Car Stereo: Step-by-Step Guide
Replacing your old car stereo with a new Android car stereo can completely change your driving experience. With features like GPS navigation, music streaming, Bluetooth hands-free calls, and a touchscreen interface, it feels like adding a smart device to your dashboard. Many drivers worry that installation is difficult, but with the right tools, patience, and a little preparation, most people can do it themselves—even beginners.
This guide will show you every step needed to install an Android car stereo, including choosing the right unit, preparing your car, wiring safely, and making sure everything works. If you’re ready to enjoy apps and smarter controls while you drive, read on.
Understanding Android Car Stereos
Android car stereos are more than just radios. They are smart devices that run on the Android operating system, like a tablet built for your car.
Key features include:
- Touchscreen display (usually 7 to 10 inches)
- Bluetooth for music and calls
- GPS navigation
- Wi-Fi connectivity
- App support (YouTube, Spotify, Google Maps, etc.)
- USB/SD input
Common types:
- Single DIN: Fits standard car radio slot (2 inches tall).
- Double DIN: Twice as tall (4 inches), for larger displays and more features.
Example: A 2015 Honda Civic fits a double DIN unit, while a 2008 Toyota Corolla uses single DIN.
Tools And Materials Needed
Having the right tools makes the job much easier and safer. Here’s what you’ll need:
- Android car stereo unit
- Wiring harness adapter (matches your car’s plug to stereo)
- Dash kit (to fit stereo into dashboard)
- Basic hand tools: Phillips screwdriver, flathead screwdriver, socket wrench set
- Plastic trim removal tool (avoids scratching your dash)
- Electrical tape or wire connectors (for safe wiring)
- Wire stripper/crimper
- Multimeter (to check connections)
- User manual for your car and stereo
Pro tip: Buy a wiring harness made for your car model. It prevents mistakes and saves time.
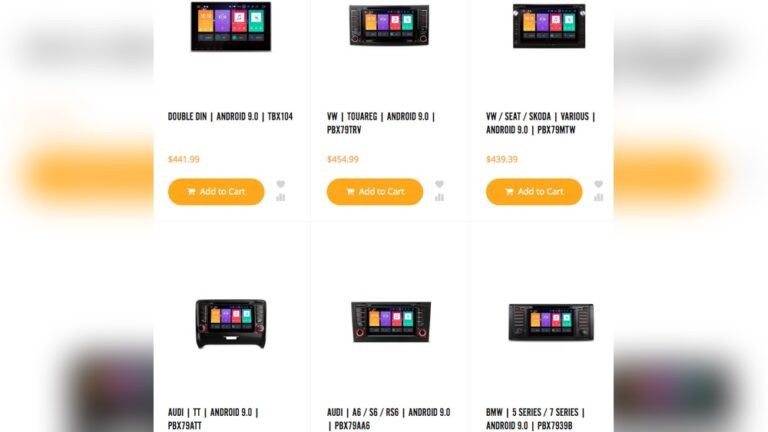
Choosing The Right Android Car Stereo
Not all units fit every car. Before you buy, check these points:
Fit And Size
- Single DIN: 2 x 7 inches (H x W)
- Double DIN: 4 x 7 inches (H x W)
Check your dashboard opening or search your car model online.
Features To Consider
- Screen size and resolution: Bigger and clearer is better, but must fit your car.
- Operating system version: Android 10 or newer is recommended for app support.
- Processor and RAM: At least 2GB RAM for smooth running.
- Connectivity: Bluetooth, Wi-Fi, USB, backup camera support.
- Audio outputs: For connecting to amplifiers or subwoofers.
Comparison Example
Below is a quick comparison of two popular units:
| Model | Screen Size | Android Version | RAM | Price |
|---|---|---|---|---|
| ATOTO A6 PF | 7″ | Android 10 | 2GB | $200 |
| Pumpkin 10.1″ | 10.1″ | Android 11 | 4GB | $300 |
Tip: Avoid buying units with less than 2GB RAM—they can lag when running apps.
Preparing For Installation
Preparation is key for a smooth installation.
Steps To Prepare
- Read the manuals: Check both your car’s and the stereo’s instructions.
- Disconnect the battery: Always remove the negative cable to avoid short circuits.
- Clear workspace: Park your car in a safe, well-lit place. Keep all tools nearby.
- Take photos: Before removing anything, snap pictures of your old stereo’s wiring.
Beginner insight: Many first-timers forget to disconnect the battery, risking blown fuses or even electric shock.
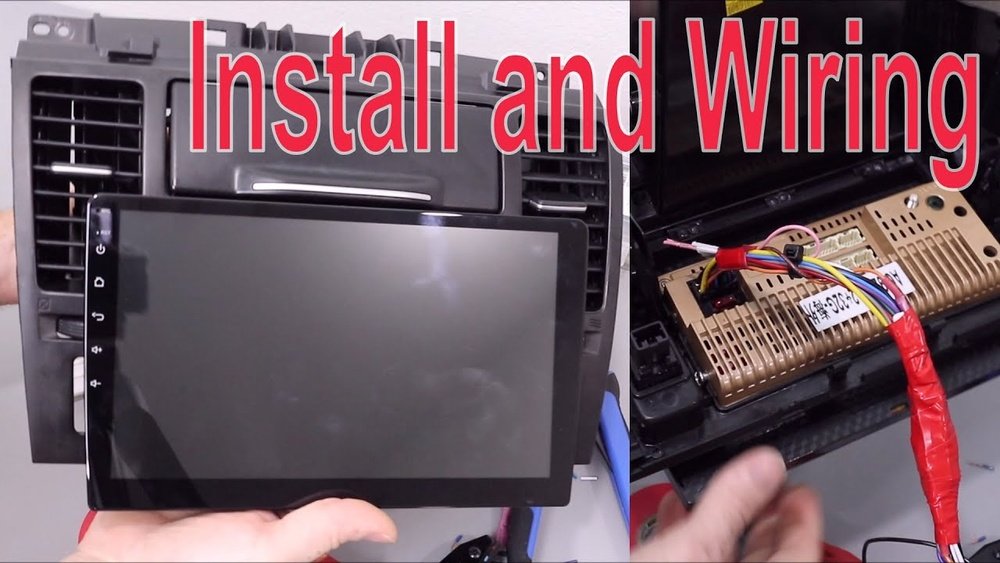
Credit: www.youtube.com
Removing The Old Stereo
Every car is a little different, but most follow these basic steps:
- Remove trim panels: Use a plastic trim tool to pry off the dashboard panels around the stereo. Be gentle.
- Unscrew the stereo: Usually 2–4 screws hold it in place.
- Pull out the stereo: Slide it out carefully.
- Disconnect wiring: Unplug the main harness and antenna cable.
Example: In a 2012 Ford Focus, you’ll remove two screws and pop off a trim ring.
Tip: If you hit resistance, check for hidden screws. Don’t force anything.
Wiring The New Android Car Stereo
This is the step where most beginners feel nervous, but it’s very doable with patience.
Understanding Wires
Most car stereos use color-coded wires. Here’s a quick guide:
| Wire Color | Function | Typical Connection |
|---|---|---|
| Yellow | Constant 12V Power | Battery |
| Red | Switched 12V Power | Ignition |
| Black | Ground | Chassis |
| Blue | Power Antenna/Amplifier | Optional |
| White/Gray/Green/Purple | Speakers | Front/Rear Left/Right |
Connecting The Harness
- Match wires by color using the harness adapter. Most kits come with labeled wires.
- Twist, solder, or use crimp connectors for a solid connection.
- Wrap with electrical tape to prevent shorts.
Beginner mistake: Connecting wires without a harness adapter. Direct wiring can damage your car’s system and void warranties.
Special Features
Some Android stereos need extra connections:
- Backup camera: Connect the camera’s power and video cables.
- Steering wheel controls: Some units need a special adapter.
- GPS antenna: Place it on the dashboard for clear signal.
Mounting The Stereo And Testing
Once wired, you’re ready to finish up.
Steps To Mount
- Slide the dash kit into place (if your stereo needs one).
- Secure the stereo with screws.
- Reconnect the battery.
- Turn on the stereo: Check if it powers up and the touchscreen works.
Testing Functions
Test all features before reassembling your dash:
- Radio reception
- Bluetooth pairing
- USB/SD music playback
- Navigation
- Backup camera (if installed)
- Steering wheel controls
Pro tip: Test with the engine running and off, as some wiring may only work in one position.
Fixing Issues
If the stereo doesn’t turn on:
- Check fuses in both the car and stereo wiring.
- Double-check harness connections.
- Test wires with a multimeter for voltage.
If sound is missing from one speaker:
- Check speaker wire connections.
- Swap left/right to see if the problem follows the wire.
Reassembling The Dashboard
Once everything works:
- Gently push wires back into the dash.
- Replace trim panels.
- Tighten all screws.
- Wipe fingerprints off the new screen.
Example: Most Toyotas require re-attaching clips. If a panel won’t snap in, check for wires blocking it.

Credit: www.amazon.com
Setting Up The Android System
Your new stereo is installed, but a few steps help you get the best experience.
Initial Setup
- Connect to Wi-Fi (if available) to download apps and updates.
- Sign in to Google account for Play Store and syncing.
- Install key apps: Google Maps, Waze, Spotify, etc.
- Set up Bluetooth for hands-free calls and music.
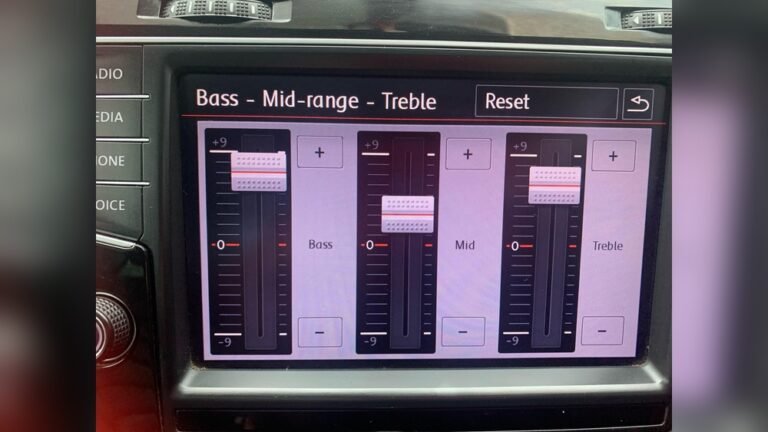
Adjusting Audio
- Balance and fade: Set speaker levels for your seating position.
- Equalizer: Adjust for bass, treble, and clarity.
Personalizing
- Wallpaper and themes: Make the interface your own.
- Shortcuts: Add favorite apps to the home screen.
Data Insight: According to a 2022 survey, over 60% of Android car stereo users list navigation and music streaming as their top-used features.
Safety And Common Mistakes
Installing a car stereo is safe if you follow steps, but mistakes can cause trouble.
Common mistakes to avoid:
- Not disconnecting the battery: Can cause short circuits.
- Mixing up wires: Always match colors and labels.
- Forcing panels: Use a trim tool and check for hidden screws.
- Skipping tests: Always test before reassembling.
Practical tip: Keep your old stereo and parts, in case you need to reverse the installation.
Is Professional Installation Better?
For most beginners, DIY installation is possible with patience. But, you may want a professional if:
- Your car has a factory amplifier or premium sound system.
- You’re uncomfortable with wiring.
- You want extra features (like a backup camera or custom amplifier).
Cost Example: Professional installation usually costs $80–$150. Complex cars (like BMW, Mercedes) may cost more.
Cost Comparison
Here’s a quick breakdown of costs:
| Item | DIY Cost | Professional Cost |
|---|---|---|
| Android Stereo | $150–$400 | $150–$400 |
| Wiring Harness & Dash Kit | $20–$40 | $20–$40 |
| Labor | $0 | $80–$150 |
| Total | $170–$440 | $250–$590 |

Credit: www.amazon.com
Extra Tips For Beginners
- Watch YouTube videos for your exact car model.
- Label wires with masking tape before disconnecting.
- Take your time: Rushing leads to mistakes.
- Ask for help: Car forums and Facebook groups are great for advice.
Hidden insight: Some older cars have a factory amplifier. If your new stereo has no sound, you may need to connect the remote wire (usually blue) to power the amp.
When To Call For Help
Don’t be afraid to seek help if:
- You see sparks or smell burning.
- Your car won’t start after installation.
- The stereo won’t power on after double-checking all connections.
A professional installer can usually fix these issues quickly.
Frequently Asked Questions
How Long Does It Take To Install An Android Car Stereo?
Most beginners need 2 to 4 hours for their first installation, including removing panels, wiring, testing, and reassembling. If you’ve installed car electronics before, it may take less than 2 hours.
Do I Need To Buy Extra Parts?
Usually, yes. You’ll need a wiring harness adapter and a dash kit to fit your new stereo. Some cars may also need a special antenna adapter or steering wheel control interface.
Will Installing A New Stereo Void My Car Warranty?
In most cases, replacing the stereo does not void your whole car warranty. However, damage caused by incorrect installation (like short circuits) may not be covered. Always keep your old stereo if you need to restore the car.
Can I Use My Car’s Steering Wheel Controls With An Android Stereo?
Yes, many Android stereos support steering wheel controls with the right adapter. Make sure to buy a compatible interface for your car and follow setup instructions.
What’s The Best Place To Learn More About Installation?
The best resources are YouTube installation videos for your car model and online car forums. For general information, you can visit Wikipedia’s car audio page.
Upgrading to an Android car stereo brings new life to any vehicle, making your daily drive smarter, more fun, and more connected. With careful preparation and the right tools, even a first-timer can install one and enjoy all the benefits of modern car technology.