How to Install a Steering Wheel Control Interface: Easy Guide
Installing a steering wheel control interface lets you keep your car’s original steering wheel buttons after upgrading to a new aftermarket stereo. Many modern cars have buttons for volume, track change, and even voice control. If you install a new radio without an interface, those buttons usually stop working.
A steering wheel control interface solves this problem. For people who want both great sound and convenience, learning to install this device is a smart move. This guide explains every step in simple language, perfect for anyone trying this project for the first time.
What Is A Steering Wheel Control Interface?
A steering wheel control interface is a small electronic device. It connects your car’s steering wheel buttons to an aftermarket radio. Without it, your new radio cannot “understand” signals from the factory buttons. The interface acts as a translator between the two systems.
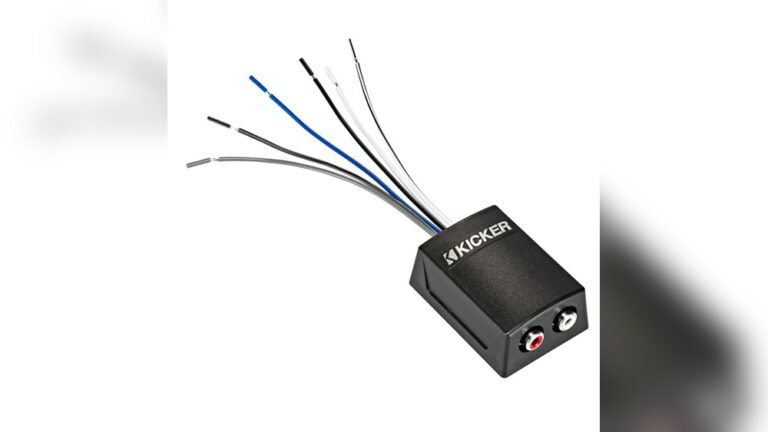
Most interfaces work with many car models and radio brands. Some popular brands are Axxess, PAC, and iDatalink. Make sure you buy one that fits both your car and your new stereo.
Why Install A Steering Wheel Control Interface?
Keeping steering wheel controls makes driving safer and easier. You can:
- Change volume without taking your hands off the wheel.
- Skip songs or stations without looking at the radio.
- Answer calls if your system supports Bluetooth.
Modern drivers expect this comfort. Data from AAA shows that using hands-free controls reduces distraction by about 33% compared to reaching for the radio. Keeping these buttons working is not just about convenience; it’s about safety, too.
Tools And Materials You’ll Need
Before you start, gather these items:
- The steering wheel control interface (with included wiring harness)
- Wire strippers
- Electrical tape or heat shrink tubing
- Crimp connectors or soldering kit (for strong connections)
- Panel removal tool (to avoid scratching your dashboard)
- Screwdrivers (Phillips and flat-head)
- Your car’s wiring diagram (from manual or online)
- Multimeter (to check wires, optional but helpful)
Having everything ready saves time and stress. Many beginners forget the wiring diagram—this is a common mistake that leads to confusion.
Understanding The Installation Process
Installing a steering wheel control interface is less about strength and more about patience and careful work. Here’s a clear overview:
- Remove your car stereo from the dashboard.
- Connect the interface wires to the correct car and radio wires.
- Program the interface (if needed).
- Test all functions before finishing.
Every step matters. Skipping programming or testing often causes problems later.
Step-by-step Installation Guide
Let’s break down each part into simple actions.
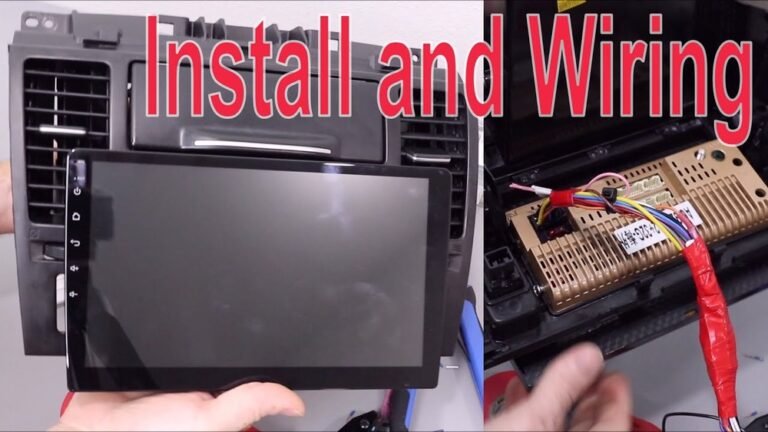
1. Remove Your Car Stereo
- Disconnect your car battery to avoid short circuits.
- Use the panel removal tool to gently take off the trim around your stereo.
- Unscrew and slide out the old radio.
- Carefully unplug all connectors.
Tip: Take a photo of the wiring before you unplug things. This helps if you get confused later.
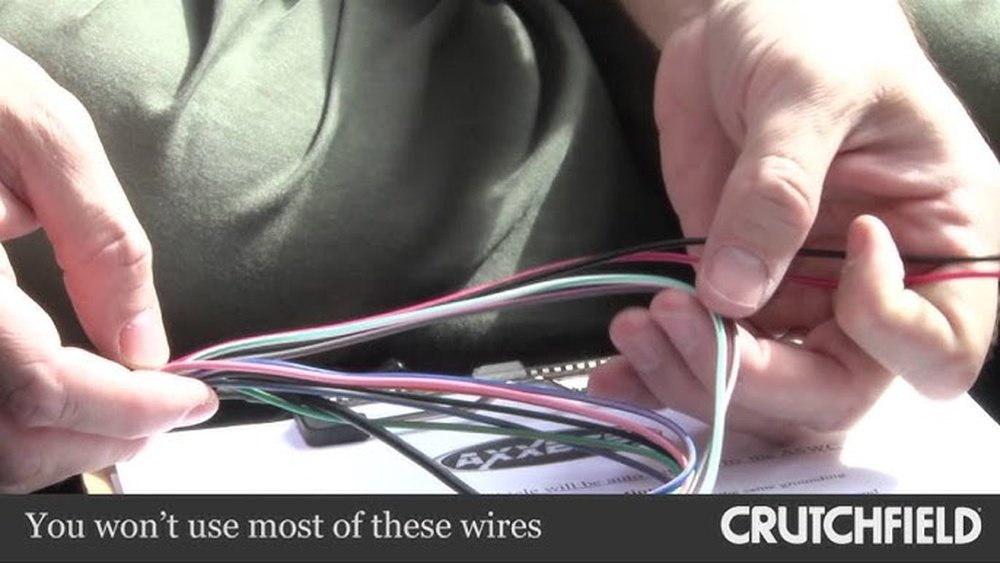
2. Identify The Correct Wires
- Use your wiring diagram to find the steering wheel control wire. This is usually a single wire, sometimes labeled “SWC,” “Key1,” or similar.
- Find the power, ground, and accessory wires for the interface.
- Check your new radio’s wiring harness for the interface control wire (often labeled “Remote In” or “SWC Input”).
Not every car uses the same color codes. Double-check against your car’s manual.
3. Make The Connections
Here’s a typical wiring map:
| Interface Wire | Connects To | Common Color |
|---|---|---|
| Power | 12V Accessory | Red |
| Ground | Vehicle Ground | Black |
| Steering Wheel Control | Car’s SWC Wire | Varies |
| Radio Input | Radio SWC Input | Blue/Yellow |
- Strip about half an inch of insulation from each wire you need.
- Twist, crimp, or solder connections for the best hold.
- Insulate with electrical tape or heat shrink tubing.
Beginner insight: Do not just twist wires together and leave them. Unprotected connections can cause failures or short circuits over time.
4. Program The Interface
Some interfaces are “plug-and-play,” meaning they work right away. Others need programming for your specific car and radio.
- Look for a small button on the interface or a sequence to press on the remote.
- Follow the manual step-by-step. Usually, you’ll hold down a button until a light flashes, then press steering wheel buttons in a certain order.
Example programming sequence:
- Hold the programming button until the LED flashes.
- Press the “Volume Up” button on the steering wheel.
- Watch for a confirmation flash.
- Repeat for each button.
Common mistake: Skipping this step or not following the order exactly can lead to some buttons not working.
5. Test All Functions
- Reconnect the car battery.
- Turn on the stereo.
- Try every steering wheel button (volume, track, phone, etc. ).
- Make sure each button does its job.
If something doesn’t work, check your wiring and programming again. It’s easier to fix mistakes now than after reassembling everything.
6. Reinstall The Stereo And Panels
- Once you’re sure everything works, gently slide the radio back in.
- Reattach screws and snap trim panels into place.
- Clean up any tools or tape before you drive.
Key Tips For A Smooth Installation
- Always disconnect the battery before working with car electronics.
- Label wires with tape as you go, especially if you have similar colors.
- Don’t rush. A careful job avoids headaches later.
- If you’re unsure, look for a video guide for your car model. Visual examples help a lot.

Credit: www.amazon.com
Real-world Example
Let’s say you have a 2015 Toyota Corolla and want to install a Pioneer AVH-1550NEX radio. The steering wheel interface you buy is an Axxess ASWC-1.
- The Toyota’s SWC wire is usually pink. But in some models, it’s green—always check your diagram.
- The Pioneer radio accepts SWC signals through its 3.5mm input jack.
- The ASWC-1 comes with a harness and detailed instructions. It requires a simple programming step—hold the reset button until the LED flashes, press each steering wheel button, and wait for confirmation.
People often miss the need for a firm ground connection. If the ground is weak, the interface may not work reliably.
Troubleshooting Common Problems
If your steering wheel controls don’t work after installation, consider these causes:
- Wrong wire connection: Double-check each wire’s color and position.
- Missed programming: Repeat the programming sequence step-by-step.
- Bad ground: Make sure the ground wire is attached to bare metal.
- Software update needed: Some radios need a firmware update to work with new interfaces.
Here’s a table to help you diagnose common problems:
| Problem | Likely Cause | Solution |
|---|---|---|
| No response from any button | No power to interface | Check fuse, power wire, and ground |
| Some buttons work, some don’t | Programming error | Redo programming steps |
| Controls work sometimes | Loose connection | Secure all wire joins |
| Radio not responding | Wrong radio input used | Check radio’s SWC input wire/jack |
Comparing Popular Interface Brands
Choosing the right interface is important. Here’s a comparison of three top brands:
| Brand | Compatibility | Programming Needed | Approx. Price (USD) |
|---|---|---|---|
| Axxess ASWC-1 | Most cars & radios | Automatic or manual | $40–$60 |
| PAC SWI-RC | Wide car/radio support | Manual | $30–$50 |
| iDatalink Maestro | Advanced features, newer cars | Web-based setup | $50–$80 |
Insight: Some interfaces, like the iDatalink Maestro, can also display car information (like tire pressure) on the radio screen. If you want more features, consider spending a little more.
Safety And Legal Considerations
Some countries or states have laws about car modifications. In most places, keeping steering wheel controls is legal and encouraged for safety. However, always:
- Check your local laws before modifying your car’s electronics.
- Do not bypass airbag wires or touch any wires marked in yellow. These are for safety equipment.
If you’re unsure, ask a professional installer for advice.

Credit: tacotunes.com
When To Seek Professional Help
Installing a steering wheel control interface is a good DIY project, but not everyone feels comfortable with car wiring. You should consider professional help if:
- Your car has a complex electrical system (luxury or European models).
- You see too many wires and feel overwhelmed.
- The interface manual is unclear for your car model.
Many shops charge $50–$100 for installation. This may be worth it for peace of mind.
Extra Tips For Beginners
- Keep all manuals and guides for future reference.
- Test the system before putting trim pieces back—this saves time if you need to fix something.
- Ask for help in online forums. Many people share their step-by-step photos and tips.
For more detailed wiring codes and installation tips, the Crutchfield Steering Wheel Control Guide is a trusted resource.

Credit: www.youtube.com
Frequently Asked Questions
How Do I Know Which Steering Wheel Control Interface Fits My Car?
Check your car’s make, model, and year. Most interface brands have compatibility charts on their websites. Input your car details and choose a matching interface.
Can I Install A Steering Wheel Control Interface Without Any Experience?
Yes, if you are patient and follow the instructions carefully. Beginners succeed most when they label wires and test each step before moving on.
Why Aren’t My Steering Wheel Buttons Working After Installation?
Double-check all wire connections and make sure you followed the programming steps exactly. Also, confirm that you used the right input on your new radio.
Do I Need Special Tools For Installation?
Basic tools like wire strippers, screwdrivers, and electrical tape are usually enough. A multimeter helps, but is not required for simple setups.
Will Installing A Steering Wheel Control Interface Void My Car’s Warranty?
Normally, adding an interface does not void your warranty if installed correctly. But, cutting factory wiring or damaging components can cause problems. If in doubt, ask your dealer.
Installing a steering wheel control interface is a practical way to keep both modern sound and hands-free safety in your car. With patience and careful steps, most beginners can do this at home. The result is a more enjoyable and safer driving experience.