Pioneer Avh 120Bt Wiring: Easy Guide for Quick Installation
If you’re planning to install a Pioneer AVH 120BT car stereo, wiring can feel confusing. Many beginners worry about connecting the right wires and making the unit work safely. The good news: you don’t need advanced skills to wire this popular double-DIN receiver. With the right steps, some patience, and clear guidance, you can finish your installation smoothly—and enjoy Bluetooth, touchscreen, and crisp sound. This article explains the Pioneer AVH 120BT wiring process in simple language, with practical data, examples, and tips for first-time installers.
Understanding The Pioneer Avh 120bt
The Pioneer AVH 120BT is a user-friendly car stereo with features like Bluetooth, USB, AUX, and a touchscreen. It’s designed for easy installation in most vehicles. Before wiring, let’s look at what makes this unit special:
- Bluetooth hands-free calling
- Touchscreen interface
- Supports USB and AUX input
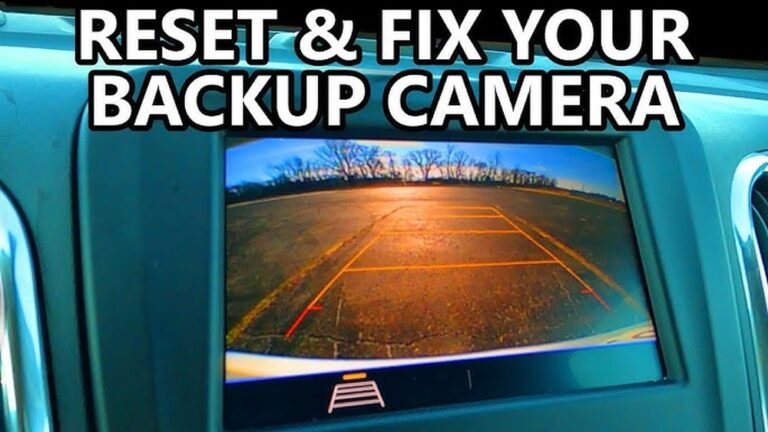
- Compatible with rear camera
- Double-DIN size (fits larger dashboard slots)
Knowing these basics helps you understand why wiring matters. Each feature depends on proper connections.
Pioneer Avh 120bt Wiring Diagram Explained
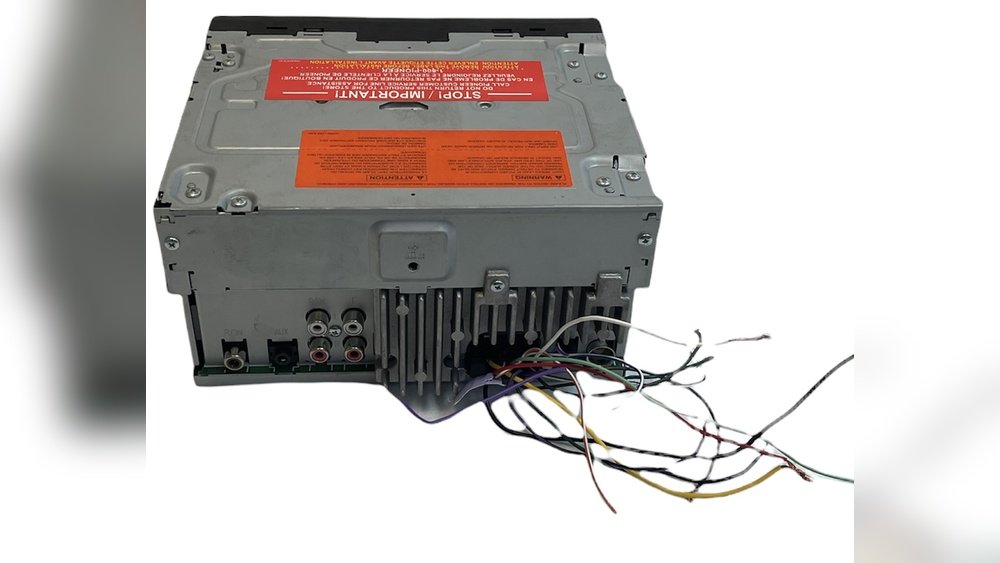
A wiring diagram shows how each wire connects to your car’s electrical system. The Pioneer AVH 120BT comes with a color-coded wiring harness. Here’s a simple overview:
| Wire Color | Function | Connects To |
|---|---|---|
| Yellow | Constant Power (12V) | Battery |
| Red | Switched Power (ACC) | Ignition |
| Black | Ground | Vehicle Chassis |
| Blue | Antenna/Remote | Power Antenna or Amp |
| White/White-Black | Front Left Speaker (+/-) | Speaker |
| Gray/Gray-Black | Front Right Speaker (+/-) | Speaker |
| Green/Green-Black | Rear Left Speaker (+/-) | Speaker |
| Purple/Purple-Black | Rear Right Speaker (+/-) | Speaker |
| Blue-White | Amplifier Remote | External Amp |
| Orange/Orange-White | Illumination | Dash Light Circuit |
Key Insight: Many beginners forget the importance of ground (black wire). Without a good ground, your stereo may not power up or can cause noise.
Credit: www.elementownersclub.com
Tools And Materials Needed
To wire the Pioneer AVH 120BT, you’ll need:
- Wire stripper (removes insulation)
- Electrical tape (seals connections)
- Crimp connectors (secure joins)
- Screwdriver (removes panels)
- Multimeter (checks voltage)
- Wiring harness adapter (matches car’s plug)
- User manual (for reference)
Using the right tools makes your work safer and faster.
Step-by-step Wiring Process
Let’s break down the wiring process into easy steps.
1. Disconnect Your Car Battery
Always disconnect the negative battery terminal before starting. This prevents electrical shorts or shocks.
2. Remove Old Stereo (if Installed)
- Unscrew dash panels carefully.
- Pull out the old stereo.
- Disconnect all wires.
3. Connect The Wiring Harness
- Match each wire color from the Pioneer harness to your car’s harness adapter.
- If your car doesn’t have an adapter, use crimp connectors to join wires directly.
Example: Connect the yellow wire (constant power) to the car’s battery wire.
4. Secure Ground Connection
- Attach the black wire to a metal part of the car chassis.
- Make sure it’s clean and free from paint.
Common Mistake: Beginners often use a weak ground point, causing problems like radio hiss or power loss.
5. Connect Speaker Wires
- White and white-black for front left
- Gray and gray-black for front right
- Green and green-black for rear left
- Purple and purple-black for rear right
Tip: Double-check polarity (+/-) to avoid poor sound quality.
6. Power And Accessory Wires
- Red wire to ignition (switched power)
- Yellow wire to battery (constant power)
Practical Data: Most cars use 18-gauge wire for these connections. If your wires are thinner, upgrade them for safety.
7. Optional Connections
- Blue wire for power antenna or amp remote
- Orange wire for dash light illumination
- Blue-white for external amplifier
Many users skip these if not needed.
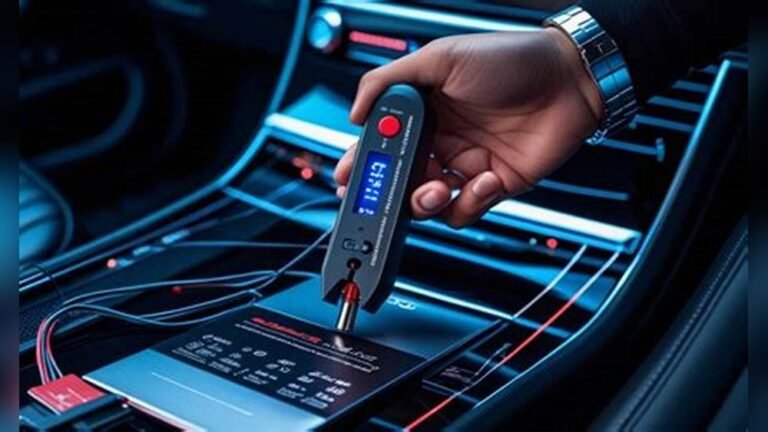
8. Test Connections With Multimeter
- Check voltage on yellow and red wires.
- Confirm ground is zero volts.
- Test speaker wires for continuity.
Non-obvious Insight: Testing before final assembly avoids hours of troubleshooting later.
9. Install Stereo And Reconnect Battery
- Insert stereo into dash slot.
- Secure with screws.
- Reconnect battery terminal.
- Power on and test all functions.

Credit: www.aliexpress.com
Comparing Oem Vs Aftermarket Wiring
If you’re replacing a factory stereo (OEM) with the Pioneer AVH 120BT, wiring can be different. Here’s a quick comparison:
| Feature | OEM Stereo | Pioneer AVH 120BT |
|---|---|---|
| Wire Colors | Often unique, not standard | Standardized (ISO) |
| Harness Adapter | Usually required | Included or available |
| Speaker Outputs | May be built-in amp | Direct |
| Power Options | Integrated with car systems | Separate wires |
Tip: Using a harness adapter (about $10–$30) makes installation much easier and avoids cutting factory wires.
Wiring Tips For Beginners
Wiring mistakes can cause stereo problems. Here are tips to help:
- Read the manual before starting.
- Label wires as you disconnect them.
- Never twist wires without connectors—use crimp or solder.
- Avoid guessing wire colors; check your car’s wiring diagram.
- Check all functions (radio, Bluetooth, speakers) before finishing.
- Use electrical tape or heat shrink tubing for safety.
- Don’t force stereo into dash—wires may get pinched.
Non-obvious Insight: Sometimes, factory wires change color near connectors. Always check both ends.
Troubleshooting Common Wiring Problems
Even careful installers face problems. Here’s how to solve typical issues:
Stereo Won’t Turn On
- Check yellow and red wires for 12V power.
- Confirm ground connection.
- Look for blown fuse in car’s fuse box.
No Sound From Speakers
- Check speaker wire connections.
- Test speakers with multimeter (ohms).
- Make sure mute is not activated.
Bluetooth Or Usb Not Working
- Confirm accessory wires are connected.
- Update stereo firmware if needed.
Static Or Noise
- Recheck ground.
- Move ground to different metal point.
- Avoid routing wires near power cables.
Example: If your stereo loses power when starting the car, the red wire may not be connected to a proper ignition source.
Real-world Installation Example
Let’s look at a practical case. Suppose you own a 2012 Toyota Corolla and want to install the Pioneer AVH 120BT:
- Buy a Toyota wiring harness adapter.
- Match Pioneer wire colors to adapter wires.
- Connect yellow to battery, red to ignition, black to chassis.
- Wire speakers as per diagram.
- Use multimeter to test each connection.
- Install stereo and test all features.
This approach avoids cutting factory wires and keeps installation reversible.
Safety And Legal Considerations
Wiring a car stereo is safe if you follow rules:
- Always disconnect battery first.
- Avoid exposed wires—cover with tape.
- Never use household wire; use automotive-grade only.
- Follow local laws about stereo brightness and screen use while driving.
- Check if your car’s warranty is affected by aftermarket stereo.
Tip: If unsure, ask a professional installer. Mistakes can damage your car’s electrical system.
Upgrading Your Stereo System
The Pioneer AVH 120BT supports upgrades like external amplifiers and backup cameras. To add these:
- Use blue-white wire for amplifier remote.
- Connect camera to dedicated input.
- Run extra wires as needed.
Upgrading is easier if your initial wiring is neat and organized.
Data Table: Common Wire Gauges
Choosing the right wire gauge is important for safety and performance.
| Wire Gauge | Recommended Use | Max Current (A) |
|---|---|---|
| 18 AWG | Speakers, power | 10 |
| 16 AWG | Amplifier power | 15 |
| 14 AWG | Heavy-duty amp | 20 |
Tip: For most Pioneer AVH 120BT connections, 18 AWG is safe. Use thicker wire for powerful amps.
Where To Find Reliable Wiring Information
For official Pioneer wiring guides and diagrams, visit the manufacturer’s website or trusted forums. Always double-check your vehicle’s wiring diagram. Here’s an authoritative resource for further reading: Crutchfield.

Credit: www.ebay.com
Frequently Asked Questions
How Do I Find The Right Wire For My Car’s Power?
Check your car’s wiring diagram. The yellow wire from Pioneer goes to the battery (constant 12V). The red wire connects to ignition (switched 12V).
Can I Use The Factory Speaker Wires With Pioneer Avh 120bt?
Yes. You can connect the Pioneer’s speaker wires to the factory wires using a harness adapter. Make sure to match colors and check polarity (+/-).
What Happens If I Connect The Ground Wire Incorrectly?
A bad ground can cause power loss, noise, or even damage the stereo. Always attach the black wire to clean, bare metal on your car’s chassis.
Do I Need An Amplifier For Good Sound?
No. The Pioneer AVH 120BT works well with factory speakers. If you want more power, use the blue-white wire to connect an external amplifier.
Is It Safe To Install The Pioneer Avh 120bt Myself?
Yes—if you follow safety steps. Disconnect the battery first, use proper connectors, and test connections before finishing. If unsure, ask a professional.
Getting the wiring right is the key to enjoying your Pioneer AVH 120BT’s features. With careful steps, a clear diagram, and attention to detail, even beginners can install this stereo with confidence. Remember: use the right tools, check your connections, and don’t rush. Enjoy your new system and drive with great sound!