How to Wire Backup Camera to Radio: Easy Vehicle Installation Guide
Wiring a backup camera to your vehicle’s radio can make parking and reversing much safer. If you’re a beginner, the process may sound complicated. But with the right steps and tools, you can complete the installation yourself. This guide explains everything in clear language, so you can wire a backup camera to your radio—even if you’ve never worked with car electronics before.
Why Install A Backup Camera?
Many accidents happen while reversing. According to the National Highway Traffic Safety Administration, backup cameras reduce rear crashes by over 17%. They help you see blind spots, children, pets, or objects behind your car. Modern vehicles often include cameras, but older cars usually do not.
Adding a backup camera can:
- Increase your safety and confidence when reversing.
- Help prevent costly damage to your car or property.
- Make parking easier, especially in tight spaces.
Let’s look at how to connect your camera to your radio step by step.
What You’ll Need
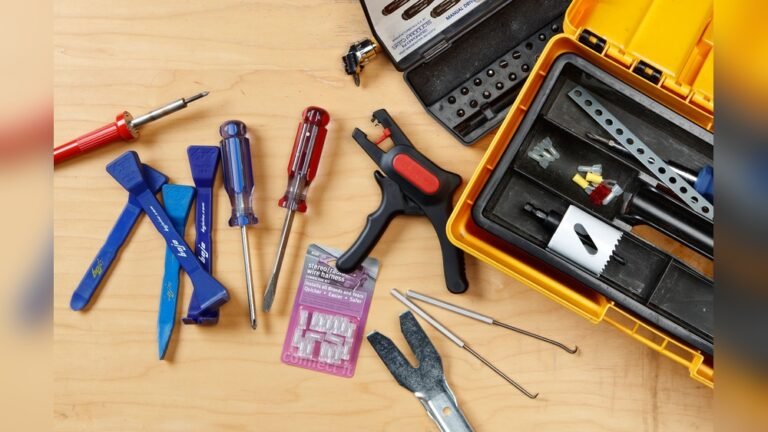
Before you start, gather these items:
- Backup camera kit (make sure it matches your vehicle and radio type)
- Wire stripper/cutter
- Multimeter (for checking wires)
- Electrical tape or heat shrink tubing
- Screwdriver set
- Trim removal tool (plastic tool to remove car panels)
- Zip ties
- Drill (sometimes needed for mounting the camera)
Some backup cameras include all the necessary wires and connectors. Double-check your kit before starting.
Understanding Your Radio And Camera Connection
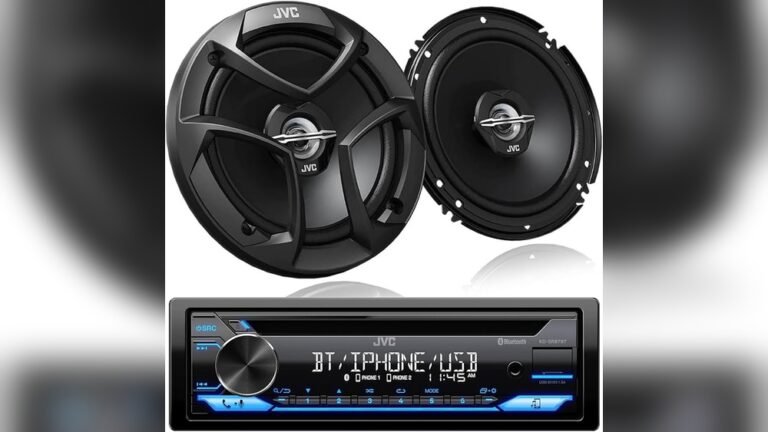
Not all radios are the same. Check if your radio supports a backup camera input. Most aftermarket radios (like Pioneer, Kenwood, Sony) have a video input port, usually labeled “CAM-IN” or “BACK-UP IN.” Factory radios may or may not support cameras.
Common Types Of Backup Camera Connections
| Camera Type | Video Signal | Power Source | Installation Difficulty |
|---|---|---|---|
| Wired | RCA Cable | Reverse Light | Medium |
| Wireless | Transmitter/Receiver | Reverse Light | Easy |
| OEM Integrated | Factory Harness | Factory Harness | Hard |
Wired cameras are more reliable, but wireless options are easier for beginners.
Step-by-step Installation Guide
1. Test Your Equipment First
Connect the backup camera to a 12V power source and the radio’s camera input before installing. This checks if everything works. A simple test can save hours if you have a faulty camera.
Tip: Use the car battery or a 12V adapter for quick testing.
2. Plan Your Cable Route
Think about where the camera will mount (usually above the license plate). Plan how the video and power cables will reach from the back of your car to the dashboard.
- Avoid sharp bends or moving parts.
- Use existing wire channels if possible.
3. Mount The Camera
- Clean the mounting area.
- Secure the camera using screws or adhesive (based on kit instructions).
- Make sure the camera points straight and covers the full rear area.
Practical Insight: A small misalignment can cause a poor view. Use a spirit level for accuracy.
4. Run The Video Cable
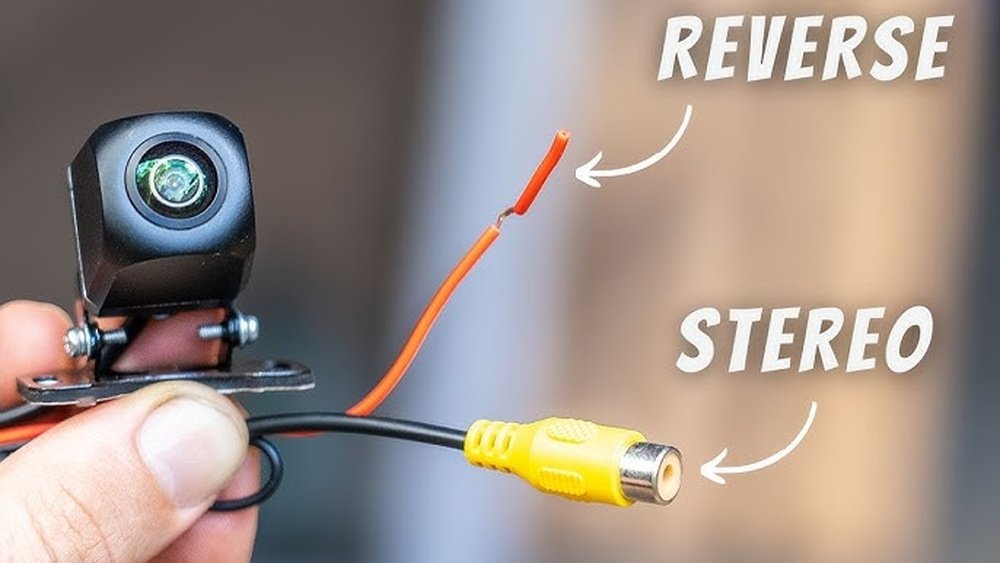
Most video cables use RCA connectors (yellow plugs).
- Start from the camera and feed the cable through your trunk.
- Tuck the cable under trim panels or carpet.
- Run the cable along the door sills toward the radio.
Use zip ties to keep the cable in place.
5. Connect The Camera Power
Backup cameras need power only when you reverse.
- Find the reverse light wire in your tail light assembly.
- Use a multimeter to check which wire gets 12V when in reverse.
- Strip a small section of this wire and connect the camera’s power (red wire) to it.
- Connect the camera ground (black wire) to a nearby metal bolt or chassis ground.
Beginner Tip: Use a “T-tap” connector for easy and secure connections.
6. Connect The Video To The Radio
- Plug the RCA video cable into the radio’s camera input.
- Many radios have a dedicated “reverse trigger” wire (often pink or purple).
- Connect this wire to the reverse light power as well. This tells the radio to switch to camera view when reversing.
Example:
- Camera red power wire → Reverse light +12V
- Camera black ground wire → Vehicle chassis
- RCA video cable → Radio “CAM-IN”
- Radio reverse trigger wire → Reverse light +12V
7. Test The System
- Put the car in reverse (engine off, parking brake on).
- The radio screen should switch to the camera view.
- Adjust the camera angle if needed.
8. Finish And Secure Everything
- Use electrical tape or heat shrink to insulate all connections.
- Reinstall any panels you removed.
- Secure loose wires with zip ties.
Non-obvious Insight: Loose or unprotected wires can cause video noise or signal loss over time.
Credit: www2.parklanejewelry.com
Practical Example: Typical Sedan Installation
Let’s say you’re installing a wired backup camera on a 2012 Toyota Corolla with an aftermarket Pioneer radio.
- Mount the camera above the license plate.
- Route the RCA cable from the trunk through the passenger side.
- Find the reverse light wire (usually red/blue) in the trunk harness.
- Tap the camera power to this wire, and ground to a trunk bolt.
- Plug the video cable into “CAM-IN” on the radio.
- Connect the radio’s reverse trigger wire to the same reverse light wire.
- Test and secure everything.
This process usually takes 2–3 hours for a beginner.
Common Problems And Fixes
No Image On The Radio
- Check all connections are secure.
- Make sure the radio is set to “camera input” mode.
- Verify the reverse light wire is correct.
Image Flashes Or Is Unstable
- Ground wire connection may be poor.
- Video cable may be too close to other power wires—reroute if needed.
Camera Works Only Sometimes
- Check if the reverse trigger wire is loose.
- Inspect all connections for corrosion or loose tape.
Safety Tips
- Always disconnect your car battery before working on wiring.
- Use fuse protection for the camera power line if possible.
- Double-check that wires do not interfere with airbags or moving parts.
Cost And Time Comparison
Installing a backup camera yourself saves money but takes more time.
| Installation Method | Average Cost | Time Required | Warranty |
|---|---|---|---|
| DIY | $30–$100 (camera kit only) | 2–4 hours | No |
| Professional | $150–$400 (parts + labor) | 1–2 hours | Yes |
DIY is cheaper, but professional installation gives you a warranty and peace of mind.

Credit: www.youtube.com
Mistakes Beginners Should Avoid
- Skipping the test step. Always test your camera and radio before final installation.
- Poor ground connection. This can cause static or no image.
- Running video cables near power lines. This can create interference.
- Forgetting the reverse trigger wire. Without this, the radio may not switch to camera mode.
- Not weatherproofing connections. Exposed wires can rust or short out.
Choosing The Right Backup Camera Kit
When buying a backup camera, consider:
- Camera type: Wired is more reliable, wireless is easier to install.
- Night vision: Essential for reversing in low light.
- Viewing angle: 120–170 degrees is best for most cars.
- Waterproof rating: Look for IP67 or higher.
Popular Backup Camera Features
| Feature | Why It Matters |
|---|---|
| LED Night Vision | See clearly at night |
| Guide Lines | Helps judge distance when parking |
| Adjustable Angle | Can set view for SUVs or trucks |
| High Resolution (720p+) | Sharper image on large screens |
| Waterproof Casing | Lasts longer, even in rain |
Expert Tip: Avoid cheap, no-name cameras with poor reviews. Spending a little more often means fewer problems later.
Credit: www.amazon.com
Integration With Modern Cars
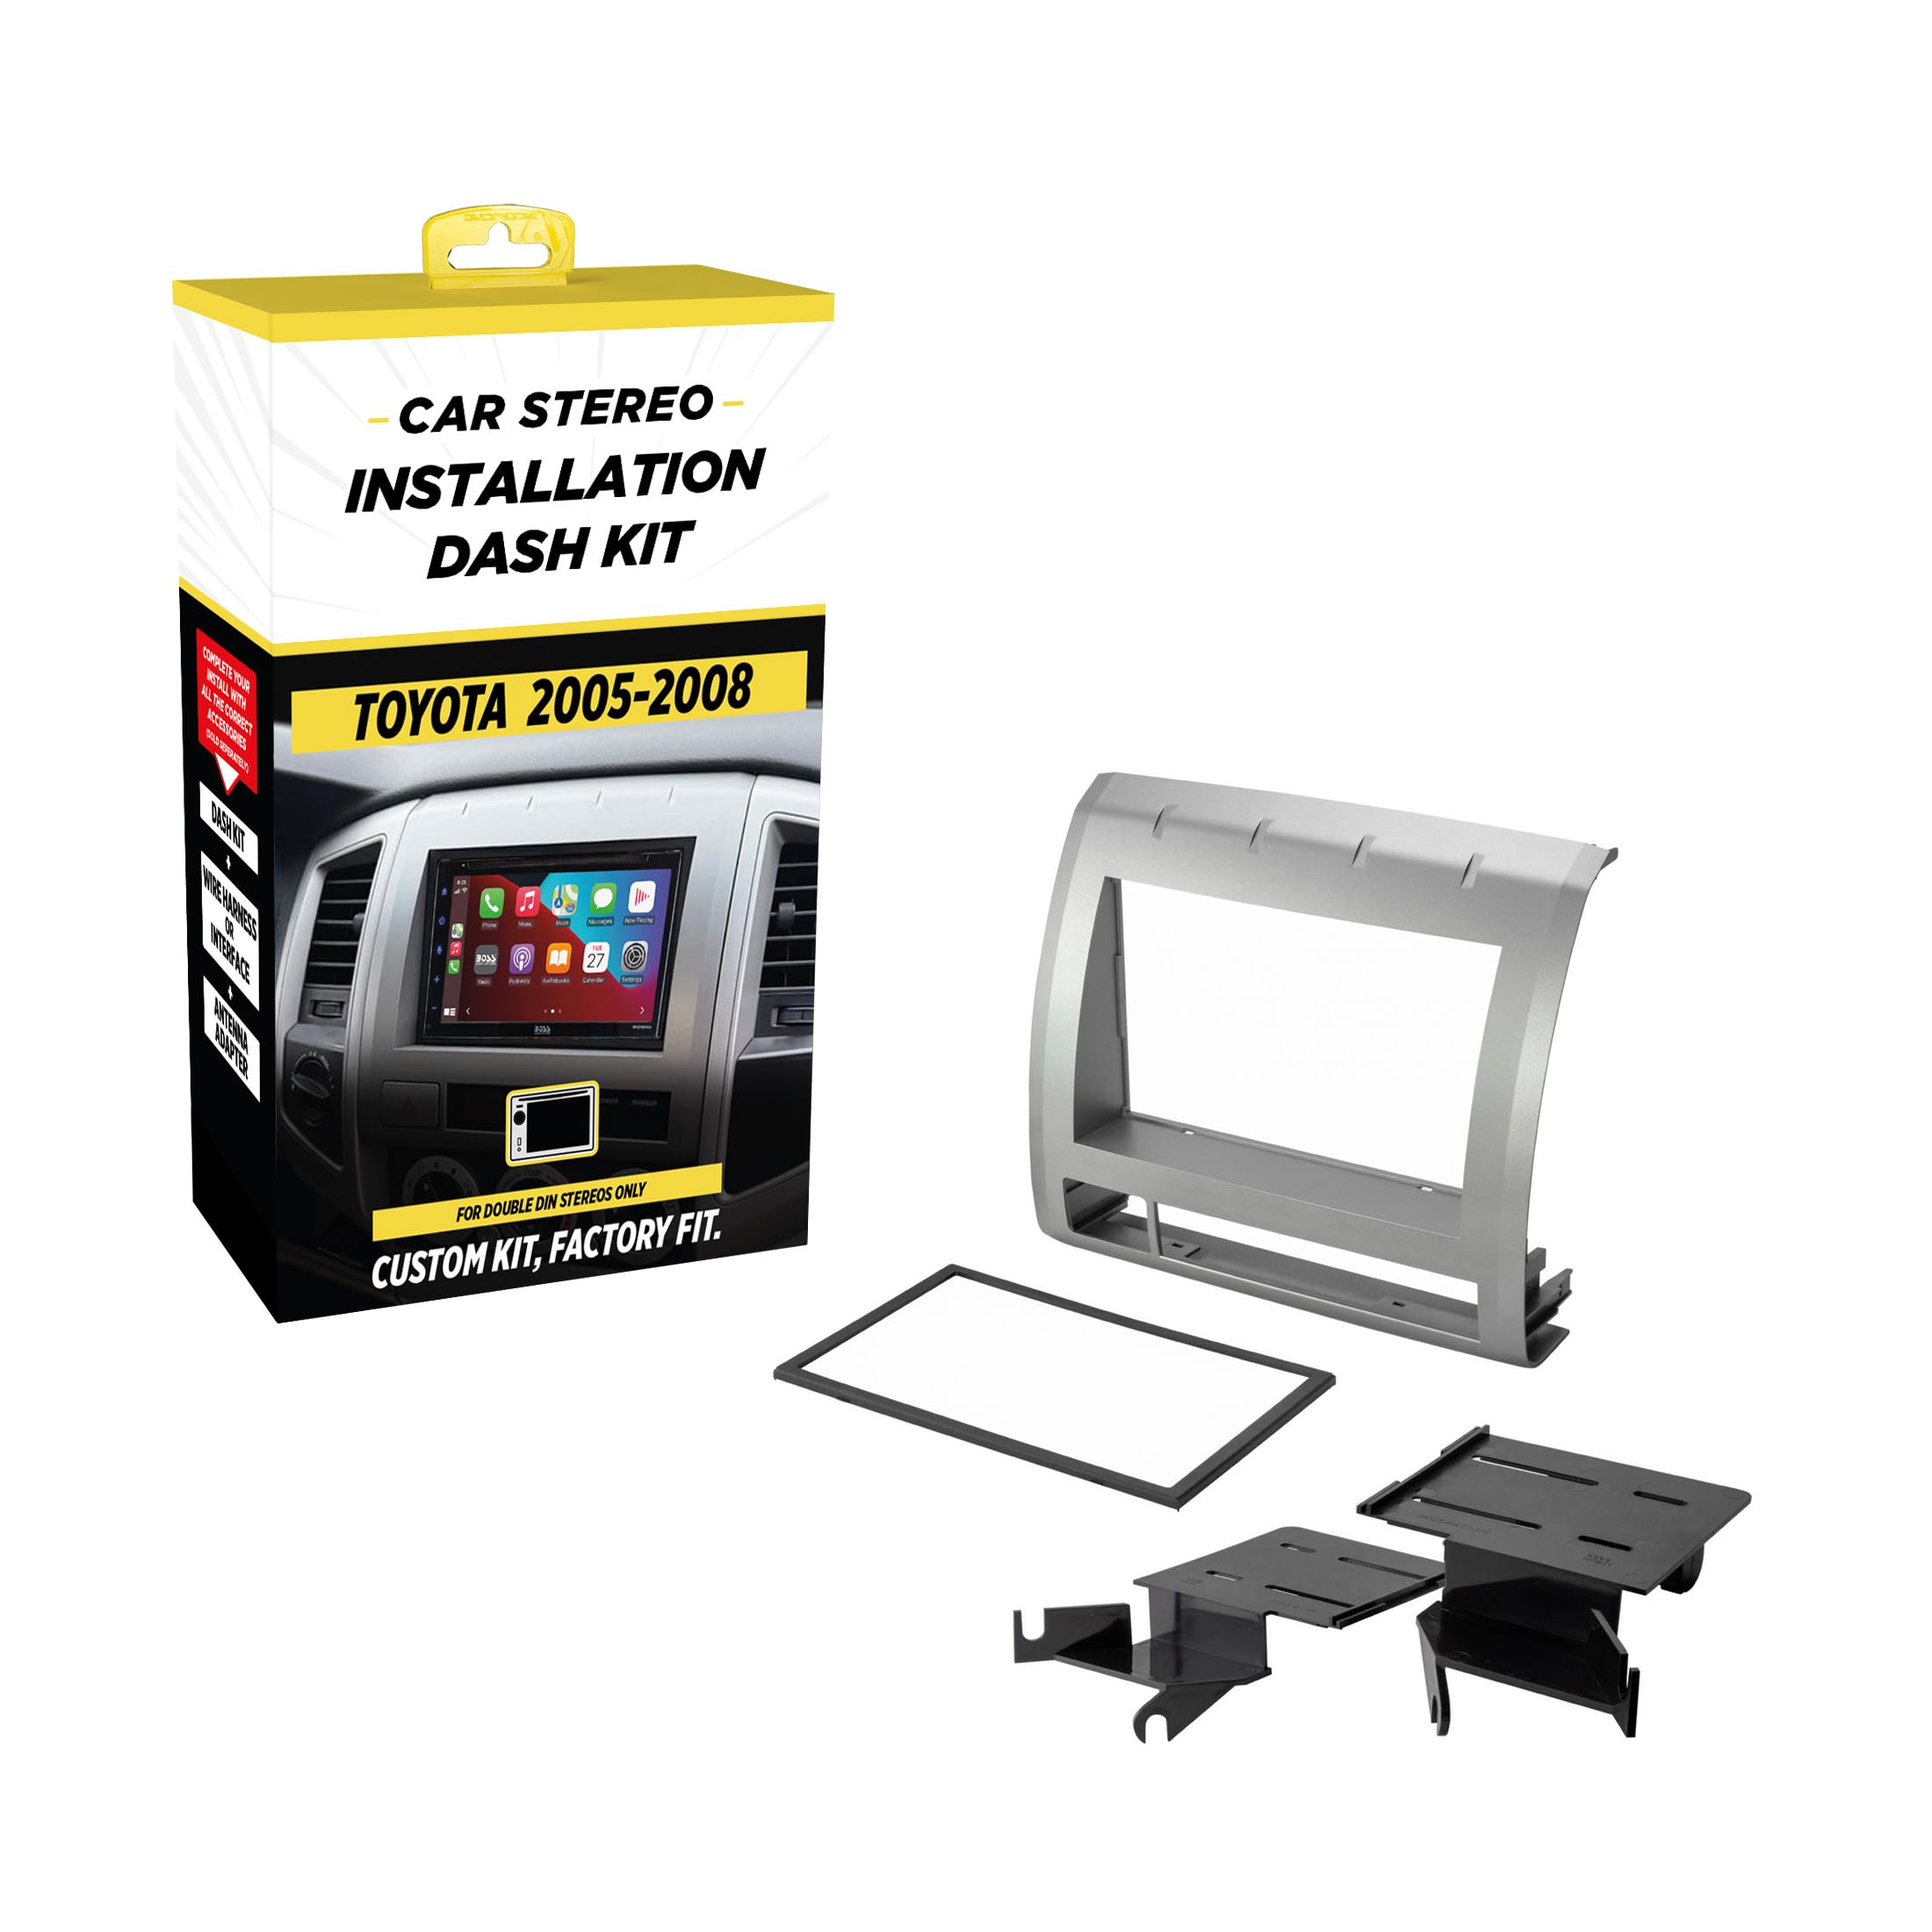
Some newer vehicles require special adapters or interfaces to work with factory radios. Always check your radio manual or search for model-specific guides. If in doubt, consult your dealer or a professional installer.
For more details on automotive safety technology, visit the NHTSA official backup camera page.
Final Thoughts
Wiring a backup camera to your radio can greatly improve your driving safety. The process may look complex, but with patience and the right tools, most beginners can do it in a few hours. Always test your equipment, make secure connections, and route wires carefully.
If you’re unsure or your car has a complicated system, don’t hesitate to get help from a professional.
A backup camera is more than just a gadget—it’s a valuable safety upgrade for your vehicle and peace of mind for you and your family.
Frequently Asked Questions
How Do I Know If My Radio Supports A Backup Camera?
Check your radio’s manual or look for a video input port labeled “CAM-IN” or “BACK-UP IN” on the back. Most aftermarket radios support cameras, but many factory radios do not. If you’re unsure, search your radio model online.
Can I Install A Backup Camera Without Removing The Radio?
Usually, you need to access the back of your radio to connect the video cable. Some wireless camera kits allow you to use the screen without removing the radio, but image quality and reliability are often lower.
Is A Wireless Backup Camera As Good As A Wired One?
Wireless cameras are easier to install but can suffer from signal interference. Wired cameras offer a more stable and high-quality image. For best results, use a wired camera if possible.
What If My Car Does Not Have A Reverse Trigger Wire?
If your radio does not have a dedicated reverse trigger wire, you may need a relay or adapter. Some radios can be set to manual camera mode, but automatic switching is more convenient.
Will Installing A Backup Camera Void My Car Warranty?
Usually, installing a backup camera will not void your car warranty if done correctly. However, improper wiring or damage to the car’s electrical system could cause issues. Always follow safe installation practices and check with your dealer if your car is under warranty.