How to Adjust Your Car Amp With Oscillating Tool: Expert Guide
Adjusting your car amplifier (amp) can transform your music experience. Proper tuning means your system sounds clear, powerful, and distortion-free. Many people use basic tools, but an oscillating tool (like an oscilloscope) gives you precise control. It shows you the real signal your amp receives and sends. If you’re new to car audio, this process might seem technical. However, with the right steps, anyone can do it safely and accurately.
This guide breaks down how to adjust your car amp with an oscillating tool in simple language. You’ll learn why this method is better, how to prepare, and each step to get the best sound. Let’s help you get clear, strong audio—without damaging your equipment.
Why Use An Oscillating Tool For Car Amp Adjustment?
Most people adjust their amps “by ear” or with test tones. This works for basic setups, but it’s easy to make mistakes. An oscillating tool (usually an oscilloscope) lets you see the exact output. It shows if the signal is clean or clipping (distorted).
Key Benefits
- Accuracy: You see the true waveform, not just what you hear.
- Prevents Damage: Catch clipping early, so you don’t blow speakers.
- Best Sound Quality: Clean tuning means every note sounds better.
Example
Imagine you’re setting the gain on your amp. By ear, you might turn it up too high, causing distortion at loud volumes. With an oscilloscope, you see the waveform flatten—this means you’ve hit the amp’s limit. You stop before damaging your gear.
What Is An Oscillating Tool? (beginner-friendly Overview)
An oscillating tool in car audio usually means an oscilloscope. This device shows a moving image of your audio signal. It’s like a heart monitor for music—showing if the signal is healthy or not.
How It Works
- Connects to the amp’s output
- Displays the sound wave in real-time
- Shows if the wave is smooth (good) or clipped/flat (bad)
Modern oscilloscopes are small, portable, and easy to use. Some even connect to your smartphone.
Basic Terms
- Waveform: The shape of the signal on the screen.
- Clipping: When the top/bottom of the wave is cut off. This causes loud, harsh distortion.
- Gain: The amp’s input sensitivity. Too high = distortion; too low = weak sound.

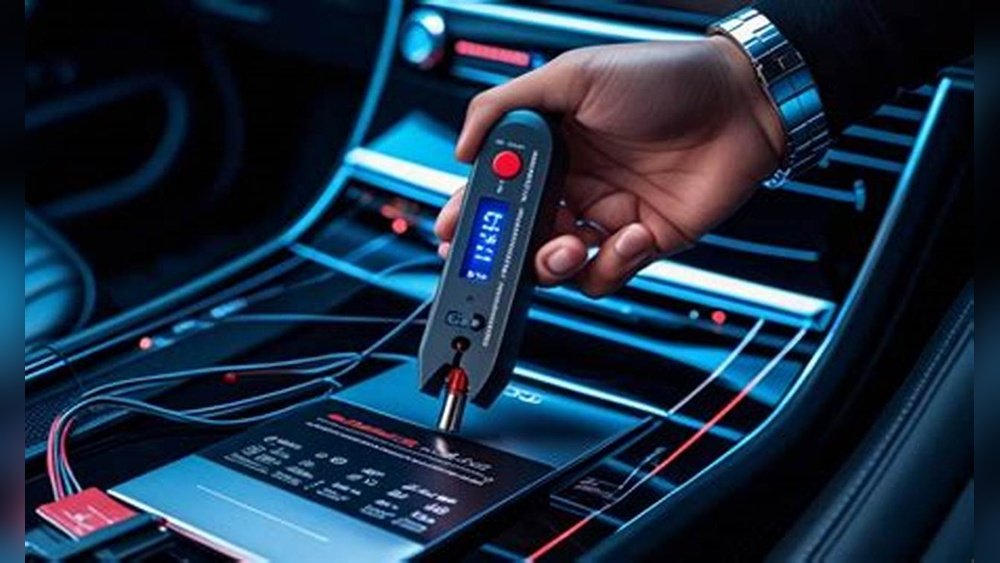
Credit: www.harborfreight.com
What You Need Before You Start
Having the right tools and setup saves time and prevents mistakes.
Essential Tools
- Oscilloscope (or portable oscillating device)
- Test tone files (usually 50Hz for subwoofers, 1kHz for full-range)
- Source device (smartphone, CD player, or USB drive)
- Volume control (head unit or receiver)
- Screwdrivers for amp adjustments
- Good lighting
Safety Reminders
- Never adjust wiring with the car’s power on.
- Keep metal tools away from exposed amp terminals.
- Start with all volume and gain settings low.
Step-by-step: Adjusting Your Car Amp With An Oscillating Tool
This section gives you a clear, beginner-friendly process. Follow each step carefully.
1. Prepare Your Car And Equipment
- Park the car in a safe, quiet place.
- Turn off the engine and remove keys.
- Open your amp’s access panel.
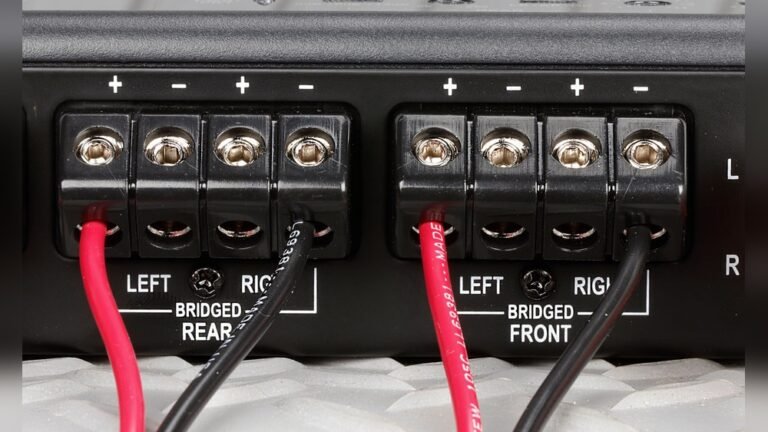
2. Connect The Oscillating Tool
- Attach the oscilloscope probes to the speaker output terminals on the amp.
- Make sure the oscilloscope is powered and set to the correct voltage scale (usually 2-5V for car audio).
3. Play A Test Tone
- Choose the correct test tone:
- 50Hz for subwoofers
- 1kHz for mids/highs
- Play the tone from your source device at 75% of your head unit’s max volume.
4. Set All Eq And Filters Flat
- Turn off all bass boost, loudness, and equalizer settings.
- Set high-pass and low-pass filters to “off” or their widest range.
5. Adjust The Gain
- Slowly increase the amp’s gain knob while watching the oscilloscope.
- Look for the waveform to stay smooth and rounded.
- Stop turning up the gain when the waveform starts to flatten at the top or bottom (clipping).
- Back off the gain slightly—this is your maximum clean output.
Example Visual
Here’s a simple way to visualize the difference:
| Waveform Type | What It Means | Result |
|---|---|---|
| Smooth/Sine Wave | Signal is clean, not distorted | Best sound |
| Flat/Clipped Wave | Signal is distorted, amp pushed too hard | Bad sound, possible damage |
6. Fine-tune The Filters
- Set the low-pass filter for subwoofers (usually 80Hz).
- Set the high-pass filter for mids/tweeters (usually 80Hz and up).
- Adjust until you hear a smooth blend—no missing frequencies.
7. Double-check Everything
- Play music you know well.
- Listen for distortion, rattling, or missing sounds.
- If needed, repeat the gain adjustment with the oscilloscope.
Common Mistakes And How To Avoid Them
Even careful beginners make these errors. Here’s how to avoid them:
Setting The Gain Too High
Turning the gain too far causes clipping. Watch the waveform, not just your ears.
Ignoring Filters
If you skip filter settings, you might blow your speakers with too much bass or treble.
Using Poor Test Tones
Bad quality or wrong test tones give false results. Always use clean, high-quality audio files.
Not Checking At Real Volume
Test at about 75% of your head unit’s max volume. Lower volumes can hide problems.
Example Of A Poor Setup
A user sets the gain by ear, turns up all EQ settings, and skips the oscilloscope. The result? The system sounds harsh, distorts easily, and speakers wear out quickly.
How Accurate Adjustment Improves Sound And System Life
A well-tuned amp does more than sound good. It protects your gear and reduces repair costs.
Cleaner Sound
With a properly adjusted amp, music is clear—even at high volumes. You hear all details, with no harshness.
Longer Equipment Life
Avoiding clipping and distortion means your speakers and amp last longer. You save money on replacements.
Example Data: Amp Lifespan
| Adjustment Method | Average Speaker Life | Common Problems |
|---|---|---|
| By Ear Only | 2-3 years | Distortion, early failure |
| With Oscilloscope | 5+ years | Rare distortion, longer life |
Choosing The Right Oscillating Tool For Beginners
There are many oscilloscopes, but some are much easier for first-time users.
Types Of Oscilloscopes
- Handheld digital oscilloscopes: Small, portable, easy to use.
- PC-based oscilloscopes: Connect to your laptop, bigger screen.
- Smartphone oscilloscopes: Attach to your phone, basic features.
Comparison Example
| Type | Pros | Cons |
|---|---|---|
| Handheld | Portable, simple controls | Small screen, limited features |
| PC-Based | Large display, advanced options | Less portable, more expensive |
| Smartphone | Very portable, inexpensive | Lower accuracy, basic readings |
Practical Tips
- For beginners, a handheld digital oscilloscope is best. It’s affordable and simple.
- Read the manual before use.
- Practice on a home speaker before trying your car amp.
Extra Tips For Great Results
A few small details can make a big difference:
- Use quality cables for your connections.
- Check all wiring for loose or corroded parts.
- Mark your best settings with a small sticker for easy reference.
- If you change your car battery or head unit, re-check your amp settings.
Non-obvious Insights
- Speaker impedance matters—if you change speakers, you must re-tune your amp.
- Environmental noise (like a running engine) can affect what you hear but not what you see on the oscilloscope. Always trust the scope.
Credit: www.homedepot.com
When To Re-adjust Your Amp
- After changing speakers or head unit
- If you add a subwoofer or new amp
- If you notice distortion at normal volume
- After car battery replacement
Regular checks keep your system in top shape.
When To Ask For Professional Help
If you’re unsure, or if your oscilloscope readings seem wrong, it’s smart to ask a car audio expert. A professional can double-check your work and ensure everything is safe.
Where To Learn More
For more details and deeper guides on car audio tuning, check out this Crutchfield car amp guide. It’s a trusted source for car audio information.
Frequently Asked Questions
How Do I Know If My Amp Is Clipping?
Watch the oscilloscope waveform. If the smooth wave becomes flat on top or bottom, your amp is clipping. You’ll also hear harsh, buzzy sounds.
Can I Use A Multimeter Instead Of An Oscilloscope?
A multimeter checks voltage, but can’t show wave shape. It’s helpful, but not as accurate for seeing distortion or clipping.
How Often Should I Check My Amp Settings?
Check your settings at least once a year, or anytime you change speakers, head unit, or battery.
Is It Safe To Adjust The Amp With The Car Running?
No. Adjust with the engine off to avoid electrical noise and possible damage. Only test with the engine on after you finish tuning.
Can I Damage My Speakers During Adjustment?
If you turn the gain too high or ignore the waveform, yes. Always stop when you see clipping, and use proper test tones and volume levels.
Getting the best sound from your car amp doesn’t need to be confusing. With an oscillating tool and these steps, you can tune your system safely and get the clearest audio possible. Take your time, follow the process, and enjoy your music like never before.
Credit: www2.parklanejewelry.com