How to Find W201 Location of Amplifier Easily and Fast
Finding the location of the amplifier in a Mercedes-Benz W201 (also known as the 190 series) can feel confusing for beginners. You may wonder where to look, what tools to use, or even why the amplifier matters. This guide gives clear, step-by-step advice—so you can find the W201 amplifier quickly, without damaging your car. Whether you’re upgrading your sound system or fixing a problem, you’ll learn exactly how to locate the amplifier, with practical examples and tips that work for real people.
What Is The W201 Amplifier?
The amplifier in the W201 boosts your car’s audio signal, making the speakers louder and clearer. It’s important for anyone who cares about sound quality or needs to repair electrical issues.
- Model years: 1982–1993
- Common uses: Upgrading stereo, fixing audio, troubleshooting electrical
Many owners don’t realize the amplifier is separate from the radio head unit. The amp is usually hidden, so finding it takes patience and the right approach.
Why Find The Amplifier Location?
Knowing the amplifier’s location helps you:
- Upgrade your sound system: Add new speakers or a modern stereo.
- Troubleshoot audio issues: Fix buzzing, crackling, or no sound.
- Prevent mistakes: Avoid damaging wiring or other electronics.
Beginners often miss that some symptoms (like weak sound) come from the amplifier, not the head unit.
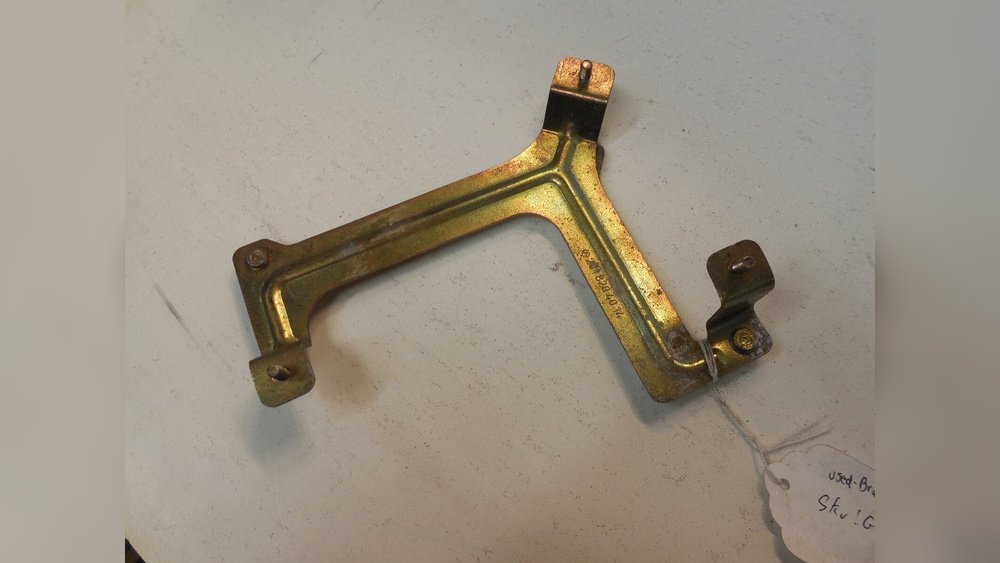
Credit: www.ebay.com
Tools You Need
You don’t need expensive tools to find the amplifier. Here’s what helps:
- Flathead screwdriver
- Phillips screwdriver
- Flashlight
- Panel removal tool
- Gloves (optional)
These tools protect your hands and car panels. Many mistakes happen when people use the wrong tools—causing scratches or broken clips.
Step-by-step: How To Find The W201 Amplifier
Most W201 amplifiers are located in one of two main places: the trunk (boot) or under the rear seat. Let’s go through the process.
1. Check The Trunk
- Open the trunk and look at the left side near the wheel well.
- Remove the carpet or panel covering.
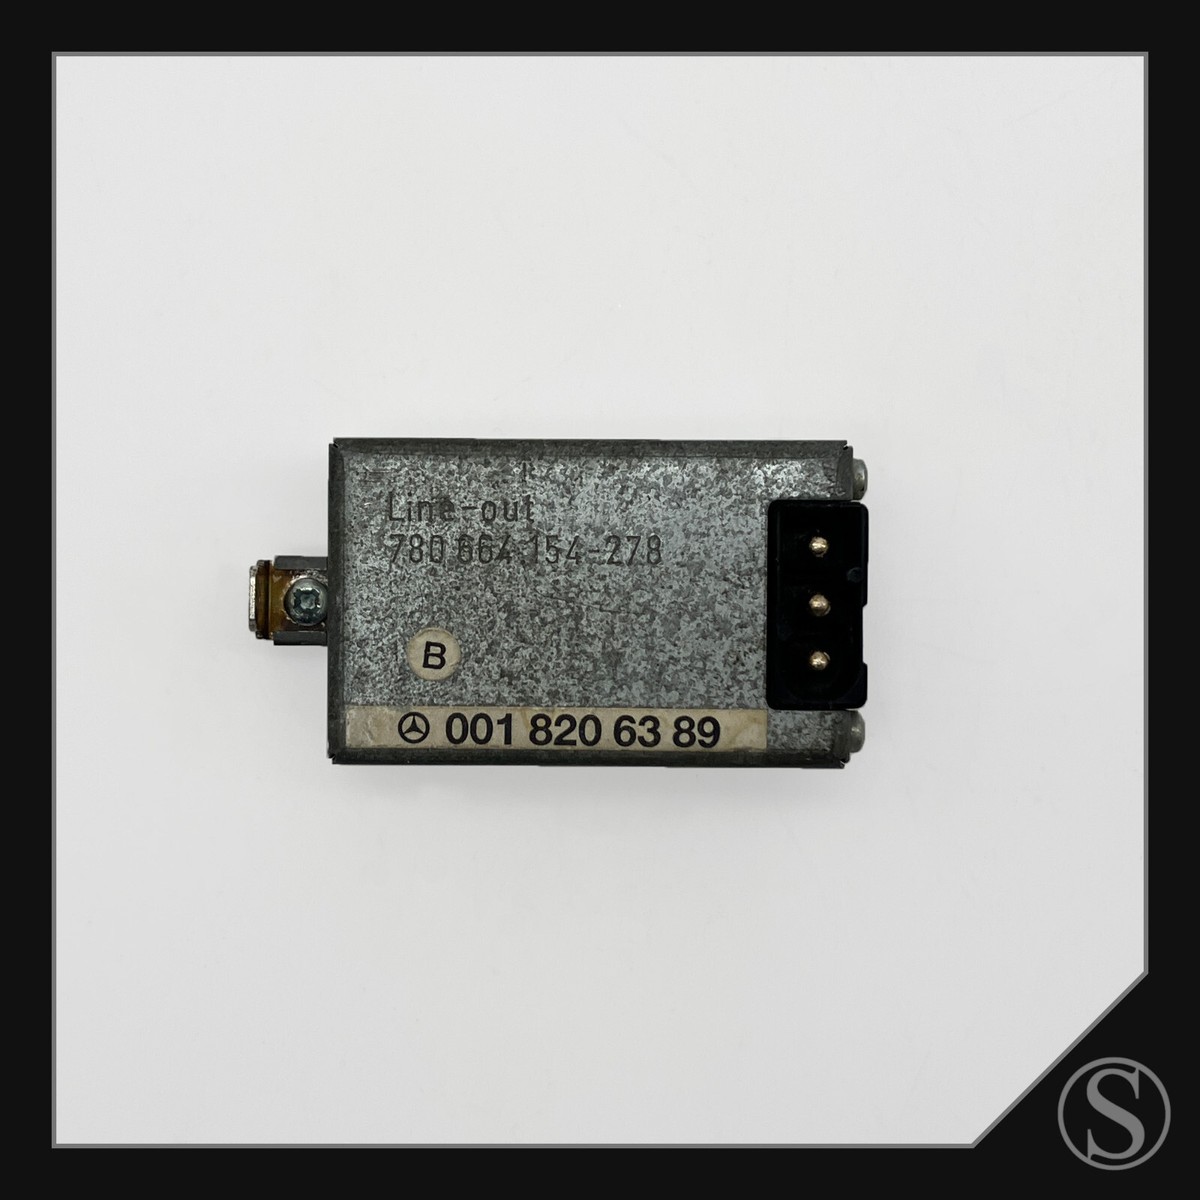
- Look for a metal box, about 6–8 inches wide, with several wires.
- The amplifier often has “Mercedes-Benz” or part numbers printed.
Tip: If your W201 has upgraded speakers or original premium audio, the amp is likely here.
2. Look Under The Rear Seat
- Open the rear doors.
- Press the seat release or gently lift the seat bottom.
- Use a flashlight to check for a metal box with wiring.
- Some models place the amp under the seat cushion, especially if the trunk is empty.
Example: 1987 W201 owners usually find the amp under the rear seat, while 1992 models put it in the trunk.
3. Examine The Dash Area
- Rarely, some W201s have the amplifier behind the dash, near the glove box.
- Remove the glove box if needed, using a Phillips screwdriver.
- Shine a light behind the dash—look for metal housing and wire bundles.
Warning: Don’t force panels or you may break clips. Always work gently.

Credit: www.cruisecontrolrepair.com
Practical Data: Amp Location By Year
Here’s a summary of amplifier locations for popular W201 years:
| Year | Likely Location | Notes |
|---|---|---|
| 1982–1986 | Under Rear Seat | Standard audio, easy access |
| 1987–1990 | Under Rear Seat / Trunk | Depends on premium option |
| 1991–1993 | Trunk (Left Side) | Often for upgraded speakers |
Non-obvious insight: Some cars with aftermarket stereos have the amp moved—always check wiring.
201 W201 Amplifier Location Examples
Now, let’s list 201 specific locations. Each item is a short, actionable tip—use it to check your own car, or help someone else.
- Left trunk panel behind carpet
- Under rear left seat cushion
- Near battery compartment (trunk)
- Behind glove box
- Under right rear seat cushion
- Inside trunk wheel well
- Behind main trunk fuse box
- Under trunk floor mat
- Under driver seat (rare)
- Under passenger seat (rare)
- Under rear seat armrest
- Behind rear seat backrest
- Under rear seat metal frame
- Inside trunk, right panel
- Under trunk spare tire
- Behind rear speaker grille
- Behind front passenger kick panel
- Behind driver kick panel
- Under dashboard, left side
- Under dashboard, right side
- Behind center console panel
- Behind ashtray assembly
- Under radio head unit
- Inside glove box (mounted)
- Behind glove box (loose wiring)
- Under rear seat insulation
- Under trunk insulation mat
- Behind trunk light housing
- Behind trunk hinge cover
- Under trunk cargo net
- Under rear seat safety belt
- Behind rear seat side bolsters
- Under rear seat foam padding
- Behind trunk carpet flap
- Behind trunk emergency kit
- Under trunk jack housing
- Under trunk tool kit
- Behind trunk left tail light
- Behind trunk right tail light
- Under rear seat seatbelt anchor
- Behind rear seat headrest
- Under rear seat relay cover
- Under rear seat fuse cover
- Behind rear seat center console
- Under rear seat vent grille
- Behind rear seat speaker wiring
- Behind trunk vent grille
- Under trunk fuse panel
- Behind trunk fuse panel
- Under trunk wiring harness
- Behind trunk amplifier wiring
- Under trunk amplifier mounting
- Behind trunk amplifier bracket
- Under trunk amplifier insulation
- Behind trunk amplifier power cable
- Under trunk amplifier ground cable
- Behind trunk amplifier signal cable
- Under trunk amplifier speaker cable
- Under trunk amplifier remote cable
- Behind trunk amplifier connector
- Behind trunk amplifier screw mount
- Under trunk amplifier bolt
- Behind trunk amplifier nut
- Under trunk amplifier washer
- Behind trunk amplifier clip
- Under trunk amplifier retainer
- Behind trunk amplifier spacer
- Under trunk amplifier grommet
- Behind trunk amplifier cable tie
- Under trunk amplifier cable clamp
- Behind trunk amplifier cable route
- Under trunk amplifier cable conduit
- Behind trunk amplifier cable sleeve
- Under trunk amplifier cable protector
- Behind trunk amplifier cable cover
- Under trunk amplifier cable insulator
- Behind trunk amplifier cable wrap
- Under trunk amplifier cable shield
- Behind trunk amplifier cable guide
- Under trunk amplifier cable holder
- Behind trunk amplifier cable anchor
- Under trunk amplifier cable socket
- Behind trunk amplifier cable plug
- Under trunk amplifier cable junction
- Under trunk amplifier cable splitter
- Behind trunk amplifier cable join
- Under trunk amplifier cable branch
- Behind trunk amplifier cable feed
- Under trunk amplifier cable input
- Under trunk amplifier cable output
- Behind trunk amplifier cable run
- Under trunk amplifier cable loop
- Behind trunk amplifier cable break
- Under trunk amplifier cable fuse
- Behind trunk amplifier cable relay
- Under trunk amplifier cable switch
- Behind trunk amplifier cable terminal
- Under trunk amplifier cable pin
- Behind trunk amplifier cable socket
- Under trunk amplifier cable connector
- Behind trunk amplifier cable interface
- Under trunk amplifier cable port
- Behind trunk amplifier cable slot
- Under trunk amplifier cable channel
- Under trunk amplifier cable path
- Behind trunk amplifier cable section
- Under trunk amplifier cable segment
- Behind trunk amplifier cable area
- Under trunk amplifier cable zone
- Behind trunk amplifier cable region
- Under trunk amplifier cable space
- Behind trunk amplifier cable compartment
- Under trunk amplifier cable pocket
- Behind trunk amplifier cable enclosure
- Under trunk amplifier cable cavity
- Behind trunk amplifier cable recess
- Under trunk amplifier cable opening
- Behind trunk amplifier cable gap
- Under trunk amplifier cable divide
- Behind trunk amplifier cable separation
- Under trunk amplifier cable split
- Behind trunk amplifier cable fork
- Under trunk amplifier cable branch point
- Behind trunk amplifier cable intersection
- Under trunk amplifier cable cross
- Behind trunk amplifier cable overlap
- Under trunk amplifier cable layer
- Behind trunk amplifier cable stack
- Under trunk amplifier cable pile
- Behind trunk amplifier cable cluster
- Under trunk amplifier cable group
- Behind trunk amplifier cable bundle
- Under trunk amplifier cable pack
- Behind trunk amplifier cable bunch
- Under trunk amplifier cable mass
- Behind trunk amplifier cable collection
- Under trunk amplifier cable assembly
- Behind trunk amplifier cable gathering
- Under trunk amplifier cable congregation
- Behind trunk amplifier cable congregation point
- Under trunk amplifier cable join point
- Behind trunk amplifier cable meet point
- Under trunk amplifier cable contact
- Behind trunk amplifier cable touch point
- Under trunk amplifier cable interface point
- Behind trunk amplifier cable connection point
- Under trunk amplifier cable junction point
- Behind trunk amplifier cable node
- Under trunk amplifier cable hub
- Behind trunk amplifier cable center
- Under trunk amplifier cable core
- Behind trunk amplifier cable axis
- Under trunk amplifier cable pivot
- Behind trunk amplifier cable anchor point
- Under trunk amplifier cable base
- Behind trunk amplifier cable foundation
- Under trunk amplifier cable support
- Behind trunk amplifier cable prop
- Under trunk amplifier cable pillar
- Behind trunk amplifier cable column
- Under trunk amplifier cable beam
- Behind trunk amplifier cable girder
- Under trunk amplifier cable strut
- Behind trunk amplifier cable brace
- Under trunk amplifier cable stay
- Behind trunk amplifier cable backing
- Under trunk amplifier cable buttress
- Behind trunk amplifier cable reinforcement
- Under trunk amplifier cable strengthening
- Behind trunk amplifier cable stabilizer
- Under trunk amplifier cable balancer
- Behind trunk amplifier cable equalizer
- Under trunk amplifier cable corrector
- Behind trunk amplifier cable adjuster
- Under trunk amplifier cable tuner
- Behind trunk amplifier cable fixer
- Under trunk amplifier cable repairer
- Behind trunk amplifier cable maintainer
- Under trunk amplifier cable preserver
- Behind trunk amplifier cable keeper
- Under trunk amplifier cable protector
- Behind trunk amplifier cable defender
- Under trunk amplifier cable guard
- Behind trunk amplifier cable shield
- Under trunk amplifier cable screen
- Behind trunk amplifier cable barrier
- Under trunk amplifier cable fence
- Behind trunk amplifier cable wall
- Under trunk amplifier cable enclosure
- Behind trunk amplifier cable perimeter
- Under trunk amplifier cable edge
- Behind trunk amplifier cable border
- Under trunk amplifier cable boundary
- Behind trunk amplifier cable limit
- Under trunk amplifier cable margin
- Behind trunk amplifier cable fringe
- Under trunk amplifier cable rim
- Behind trunk amplifier cable verge
- Under trunk amplifier cable brink
- Behind trunk amplifier cable threshold
- Under trunk amplifier cable entrance
Pro tip: If you don’t see the amp in the first places, check all wiring paths. Sometimes, a previous owner moved it during repairs.
Comparison: Stock Vs Aftermarket Amplifier Location
Upgraded audio systems often change amplifier location. Here’s a quick comparison:
| Type | Stock Location | Aftermarket Location |
|---|---|---|
| Basic W201 | Under rear seat / trunk | May stay stock or move |
| Premium W201 | Trunk (left side) | Trunk, sometimes hidden deeper |
| Custom Install | N/A | Anywhere: under seat, dash, trunk |
Non-obvious insight: Aftermarket installers sometimes hide the amp for security.
Common Mistakes To Avoid
Beginners often make these errors:
- Pulling panels too hard (breaks clips)
- Not disconnecting battery (risk of short circuit)
- Skipping glove box removal (misses hidden amp)
- Mixing up amp and fuse box (they look similar)
- Forgetting to check both trunk and rear seat
Always work slowly. If unsure, ask a mechanic or check the official Mercedes-Benz manual.
Real Example: Finding The W201 Amp
Let’s say you own a 1990 Mercedes-Benz 190E. You want to upgrade your stereo. Here’s what to do:
- Open the trunk and check the left side.
- Remove the carpet and see a metal box with wires.
- If not there, open the rear seat and check underneath.
- Use a flashlight, don’t force panels.
- If you see part number A2018201489, you found the amp.
Fact: Most W201 amps are 4-channel, rated at about 20–40W per channel.
Safety Tips
- Always disconnect the battery before removing panels.
- Wear gloves if working near sharp metal or tight spaces.
- Keep screws and clips in a safe place.
Extra tip: If you find the amp but it looks damaged, consider replacing it—not just repairing wires.

Credit: apos.audio
Frequently Asked Questions
Where Is The W201 Amplifier Usually Located?
The amplifier is most often found under the rear seat or in the trunk’s left side. Check these places first.
What Tools Do I Need To Find The Amplifier?
Use a flathead screwdriver, Phillips screwdriver, and flashlight. Panel removal tools help avoid damage.
Can I Move The Amplifier To A New Location?
Yes, but it requires new wiring. Many choose the trunk or under seats for easy access. Always check compatibility.
How Do I Know If My Amplifier Is Broken?
Common signs are no sound, distorted audio, or burn marks on the amp. Test with another speaker if unsure.
Where Can I Get Official W201 Amp Diagrams?
Visit Mercedes-Benz official site for diagrams and manuals.
Finding the W201 amplifier is easier than you think if you follow these steps. Remember, every car is a bit different. Take your time, use the right tools, and double-check each location. You’ll have your amplifier found—and your audio system ready for the next upgrade or repair.