How to Charge a Car Audio Capacitor Safely and Efficiently
Charging a car audio capacitor is a simple but important task for anyone building or upgrading their car audio system. A capacitor helps stabilize the power supply, especially during loud bass hits, and prevents dimming headlights or voltage drops. If you’re new to car audio, you might wonder why charging the capacitor matters and how to do it safely.
This guide will walk you through everything—from why it’s necessary, to step-by-step instructions, tips, and common mistakes. You’ll finish with a clear understanding and confidence to charge your capacitor properly.
What Is A Car Audio Capacitor?
A car audio capacitor is a device that stores and releases electrical energy quickly. It sits between your car’s battery and the amplifier, acting as a buffer during high-demand moments.
- Purpose: Prevents voltage drops and keeps your music clear and powerful.
- Common sizes: Usually between 1 and 5 farads (F).
- Shape: Most are cylindrical or rectangular, with two terminals—positive and negative.
Example
If you have a 2,000-watt amplifier, your electrical system may struggle during heavy bass. A 2F capacitor can help smooth out the power flow, keeping your headlights from dimming.
Why You Must Charge A Capacitor Before Use
Charging a capacitor before connecting it to your audio system is essential. If you skip this step, you risk damaging the capacitor, your amplifier, or even your battery.
Reasons to charge:
- Safety: An uncharged capacitor can draw a massive amount of current instantly, causing sparks or burns.
- Longevity: Proper charging helps avoid internal damage and extends the life of your capacitor.
- System stability: Ensures your audio equipment runs smoothly from the start.
Non-obvious insight: Some beginners think a new capacitor is already safe to install. In reality, most new capacitors need charging before use.
Tools And Materials Needed
Before you start, gather the necessary tools. Using the right equipment makes the job safer and easier.
- Resistor (typically 1k ohm, 2–5 watt) or a charging light bulb (12V automotive bulb, 10–20W)
- Multimeter (to measure voltage)
- Insulated wires
- Screwdriver
- Electrical tape
- Safety goggles and gloves
Pro tip: A charging kit may come with some capacitors, but you can easily make your own using a light bulb or resistor.
Step-by-step Guide: How To Charge A Car Audio Capacitor
Follow these steps to charge your capacitor correctly and safely.
1. Prepare The Capacitor
- Place the capacitor in a safe area away from metal objects.
- Check the voltage rating on the capacitor label. Most are rated for 12V to 16V.
2. Connect The Charging Resistor Or Light Bulb
- Attach the resistor or bulb between the capacitor’s positive terminal and the positive wire from the battery.
- Connect the capacitor’s negative terminal to the battery’s negative terminal (ground).
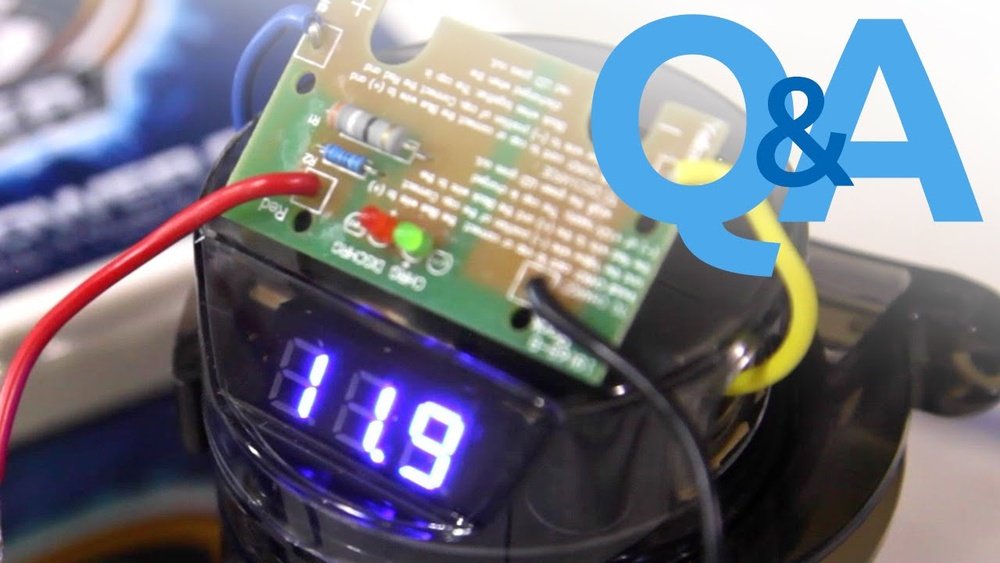
3. Monitor Charging With A Multimeter
- Set your multimeter to measure DC voltage.
- Touch the probes to the capacitor’s terminals.
- Watch the voltage rise slowly as the capacitor charges.
4. Wait Until The Capacitor Is Fully Charged
- The voltage will gradually approach the car battery’s voltage (usually 12.6V to 14.4V).
- When the voltage matches the battery, the capacitor is fully charged.
5. Remove The Resistor Or Bulb
- Carefully disconnect the charging device.
- Connect the capacitor directly to your audio system.
Example Charging Time
Most capacitors charge within 2–5 minutes using a resistor or bulb. If the voltage rises too fast, pause and check your connections.

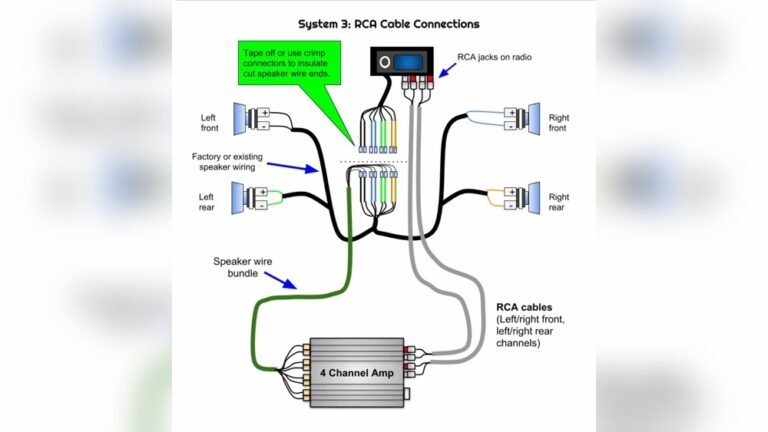
Credit: learn.sonicelectronix.com
Typical Charging Methods Compared
Different charging methods have their own pros and cons. Here’s a quick comparison:
| Method | Charging Speed | Safety | Best For |
|---|---|---|---|
| Resistor | Medium | Very Safe | Most beginners |
| Light Bulb | Medium-Fast | Safe | DIY users |
| Direct Connect | Instant | Unsafe | Not recommended |
Non-obvious insight: Charging with a light bulb lets you see when the bulb dims, signaling the capacitor is full.
Data: Typical Capacitor Specifications
Knowing your capacitor’s specs helps you choose the right charging method and resistor size.
| Capacitor Size | Voltage Range | Recommended Resistor | Charging Time |
|---|---|---|---|
| 1 Farad | 12–16V | 1kΩ, 5W | 2–3 min |
| 2 Farad | 12–16V | 1kΩ, 5W | 3–5 min |
| 5 Farad | 12–16V | 1kΩ, 10W | 5–8 min |
Example: If you have a 2F capacitor, use a 1kΩ, 5W resistor and expect about 4 minutes of charging.
Practical Tips For Safe Charging
- Always wear safety goggles and gloves to protect against sparks.
- Never touch the capacitor terminals with bare hands during charging.
- Check all connections twice before starting.
- Use electrical tape to cover exposed wires.
- Avoid charging in wet or humid conditions.
- If using a light bulb, a 12V, 10W bulb works for most capacitors.
Common Mistakes Beginners Make
1. Directly connecting to battery: This can cause a dangerous spark and damage the capacitor.
2. Using wrong resistor size: A resistor too small charges too fast, risking heat and damage. Too large charges too slowly.
3. Not monitoring voltage: Failing to use a multimeter can lead to overcharging or unsafe operation.
4. Skipping safety gear: Sparks can cause burns—always use protective equipment.
5. Ignoring polarity: Always match positive to positive, negative to negative.

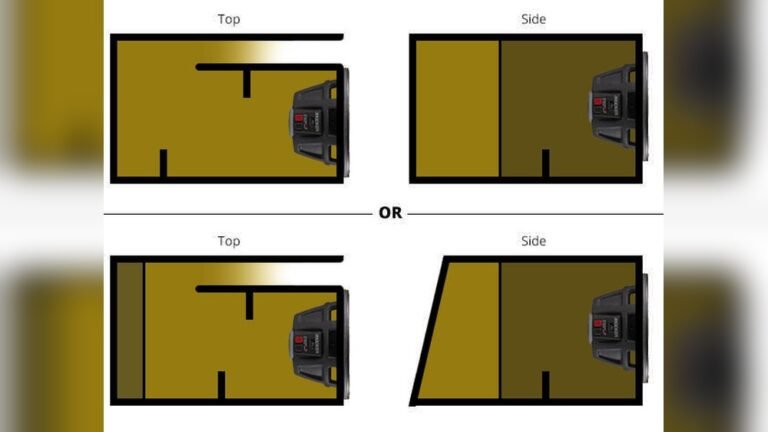
Credit: www.youtube.com
Signs Of Properly Charged Capacitor
Once your capacitor is charged, you’ll notice:
- The voltage matches your battery.
- If using a bulb, it dims or goes out.
- No sparks or loud noises when connecting to the audio system.
- Your amplifier runs smoother, especially during loud music.
Pro tip: If your headlights still dim after charging and installing, check your ground connections or consider a larger capacitor.
What To Do After Charging
- Mount the capacitor securely, away from moving parts.
- Connect it directly to your amplifier’s power cable.
- Test your audio system with moderate volume.
- Monitor voltage with a multimeter for the first few days.
How A Capacitor Improves Your Audio System
A capacitor acts as a quick energy reserve. When your amplifier demands more power than your battery can supply, the capacitor fills the gap.
Benefits:
- Reduces voltage drops
- Prevents headlight dimming
- Improves bass performance
- Extends amplifier lifespan
Data: Studies show that a properly installed capacitor can reduce voltage dips by up to 25% during peak audio moments (Source Name).
Maintenance And Troubleshooting
Capacitors need little maintenance, but it’s smart to check them regularly.
- Inspect for physical damage or leaks.
- Measure voltage every few months.
- If voltage drops quickly, the capacitor may be faulty.
Example: If your capacitor shows only 10V after charging, but your battery is at 12.6V, it may be time to replace it.

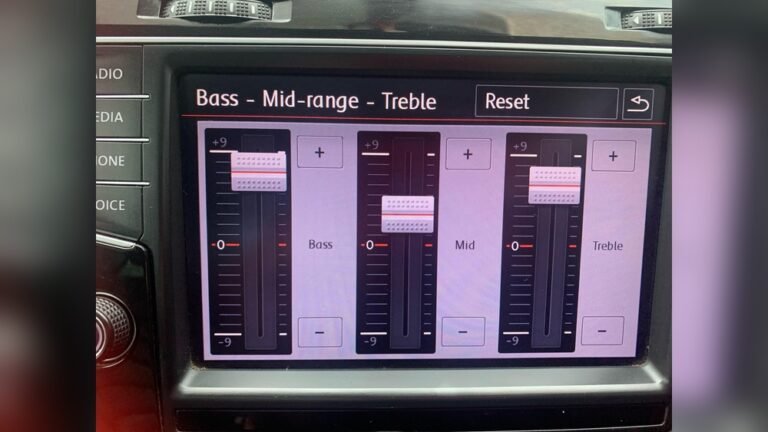
Credit: www.amazon.com
Comparison: Capacitor Vs. Second Battery
Some users consider adding a second battery instead of a capacitor. Here’s a quick comparison:
| Feature | Capacitor | Second Battery |
|---|---|---|
| Quick energy delivery | Excellent | Moderate |
| Installation complexity | Simple | Complex |
| Weight | Light | Heavy |
| Best for | Short, high-power bursts | Long, sustained power |
Non-obvious insight: Capacitors are best for handling fast, powerful bass hits. Batteries help with long-lasting power needs.
Frequently Asked Questions
What Happens If I Don’t Charge My Capacitor Before Use?
An uncharged capacitor draws a huge surge of current, which can cause sparks, burns, or damage to your audio equipment. Always charge first.
How Long Does It Take To Charge A Car Audio Capacitor?
Charging usually takes 2–8 minutes depending on the capacitor size and resistor used. Monitor voltage with a multimeter to know when it’s full.
Can I Use Any Resistor To Charge My Capacitor?
No. Use a 1kΩ, 2–10W resistor for most car audio capacitors. Using the wrong size can cause slow charging or safety risks.
Is It Safe To Use A Light Bulb Instead Of A Resistor?
Yes, a 12V, 10–20W automotive bulb is commonly used and offers a visual cue—the bulb dims as the capacitor fills.
How Do I Know If My Capacitor Is Faulty?
If your capacitor won’t hold a charge, shows physical damage, or causes voltage dips even after installation, it may need replacement.
Charging a car audio capacitor is easy when you follow the right steps. With proper tools, careful monitoring, and safety measures, you protect your equipment and enjoy better sound quality. Capacitors are a smart upgrade for anyone wanting strong, reliable audio in their car.
By understanding the process, you avoid mistakes and keep your system running smoothly for years.